RECHERCHE PAR INSPIRATIONS


- Amortisseurs
- Bandes thermiques
- Boites en aluminium
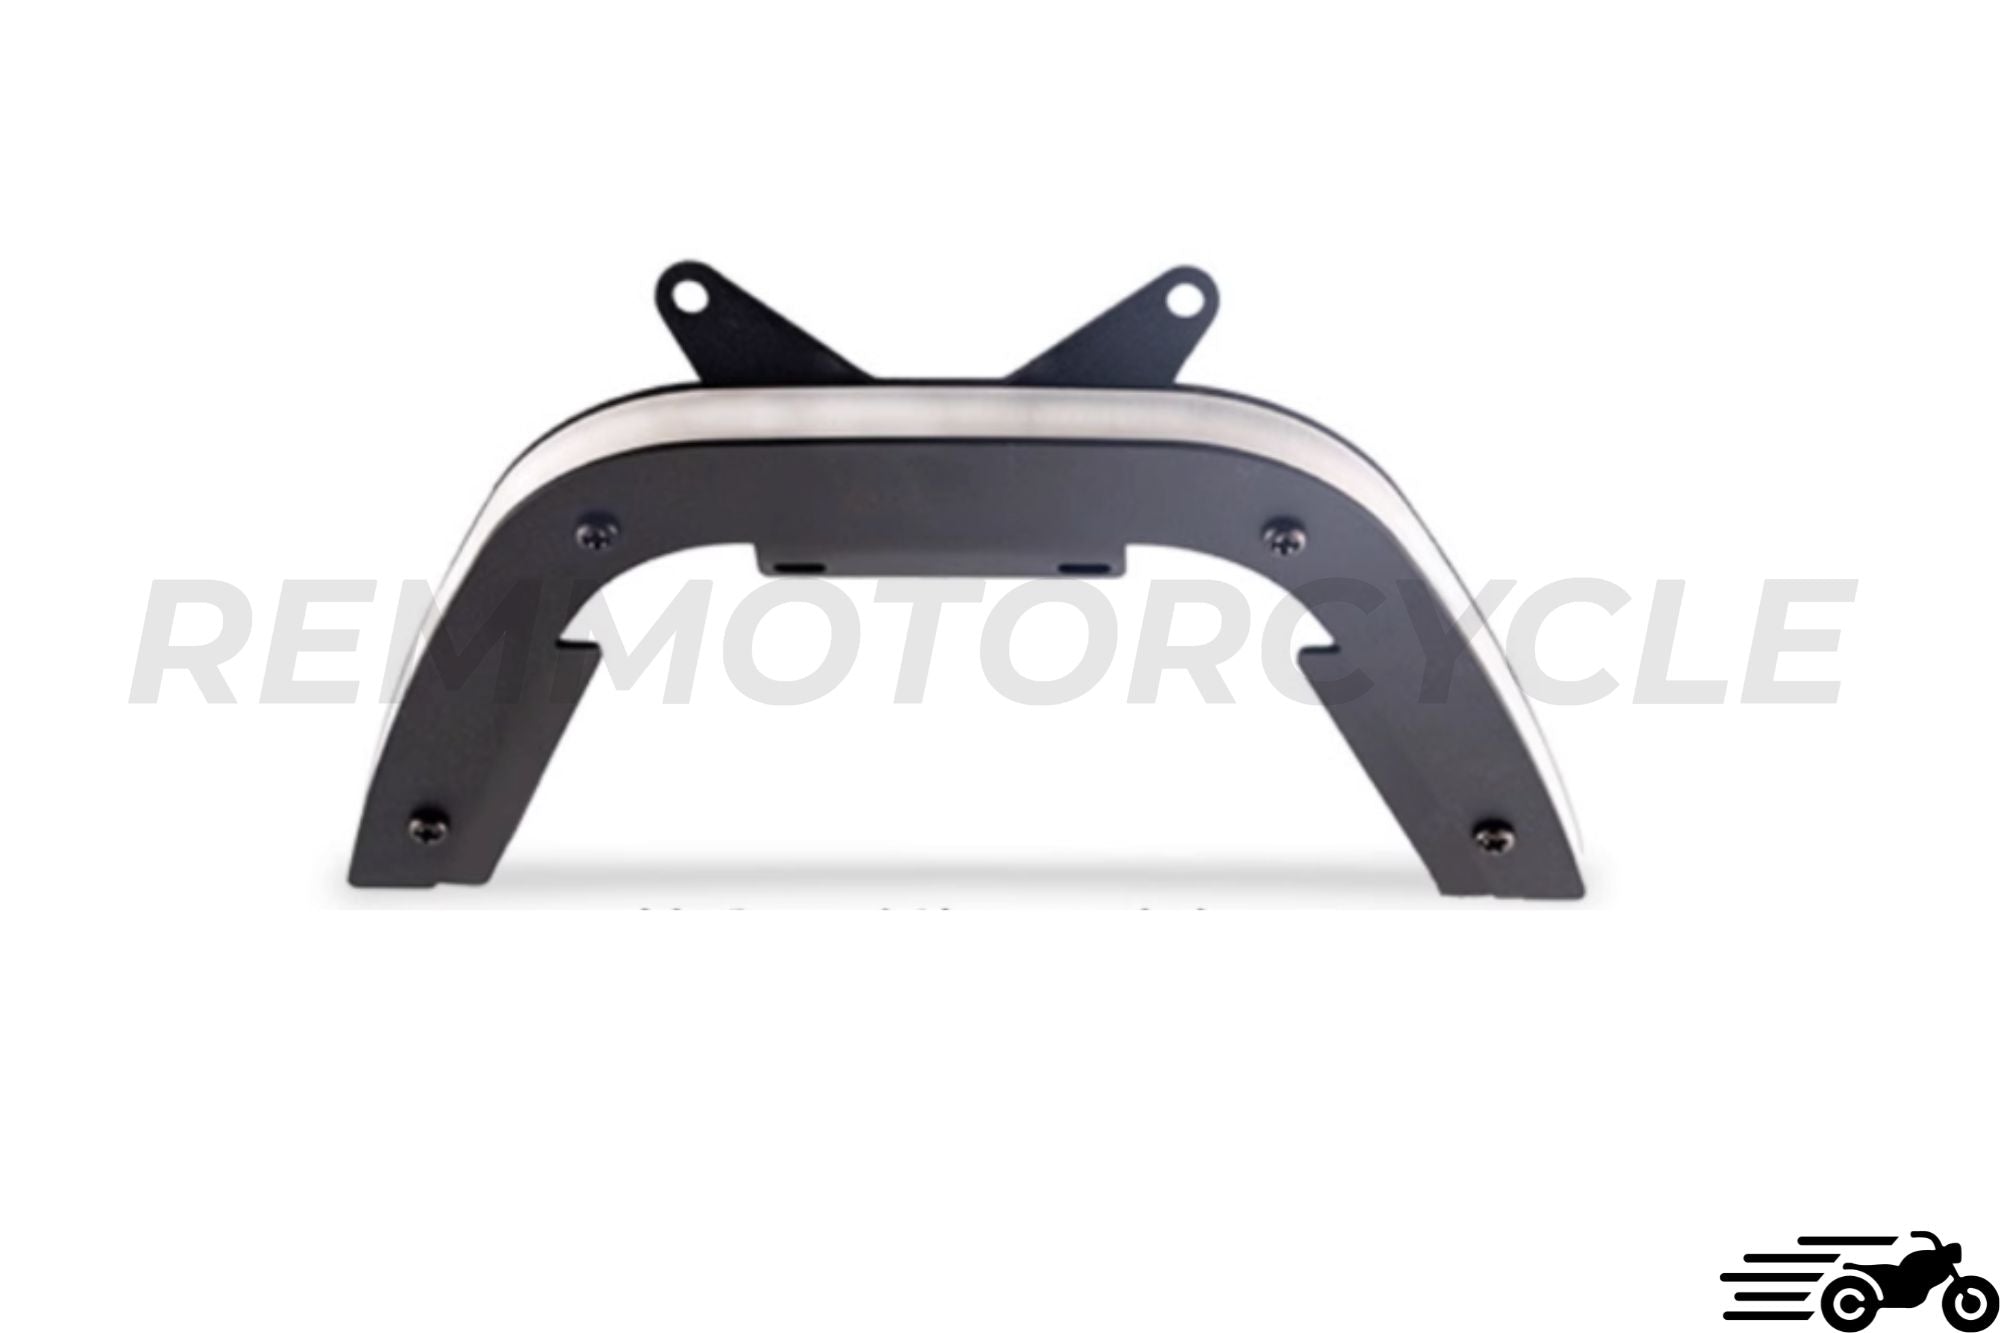
- Boucles Arrières
- Bulles
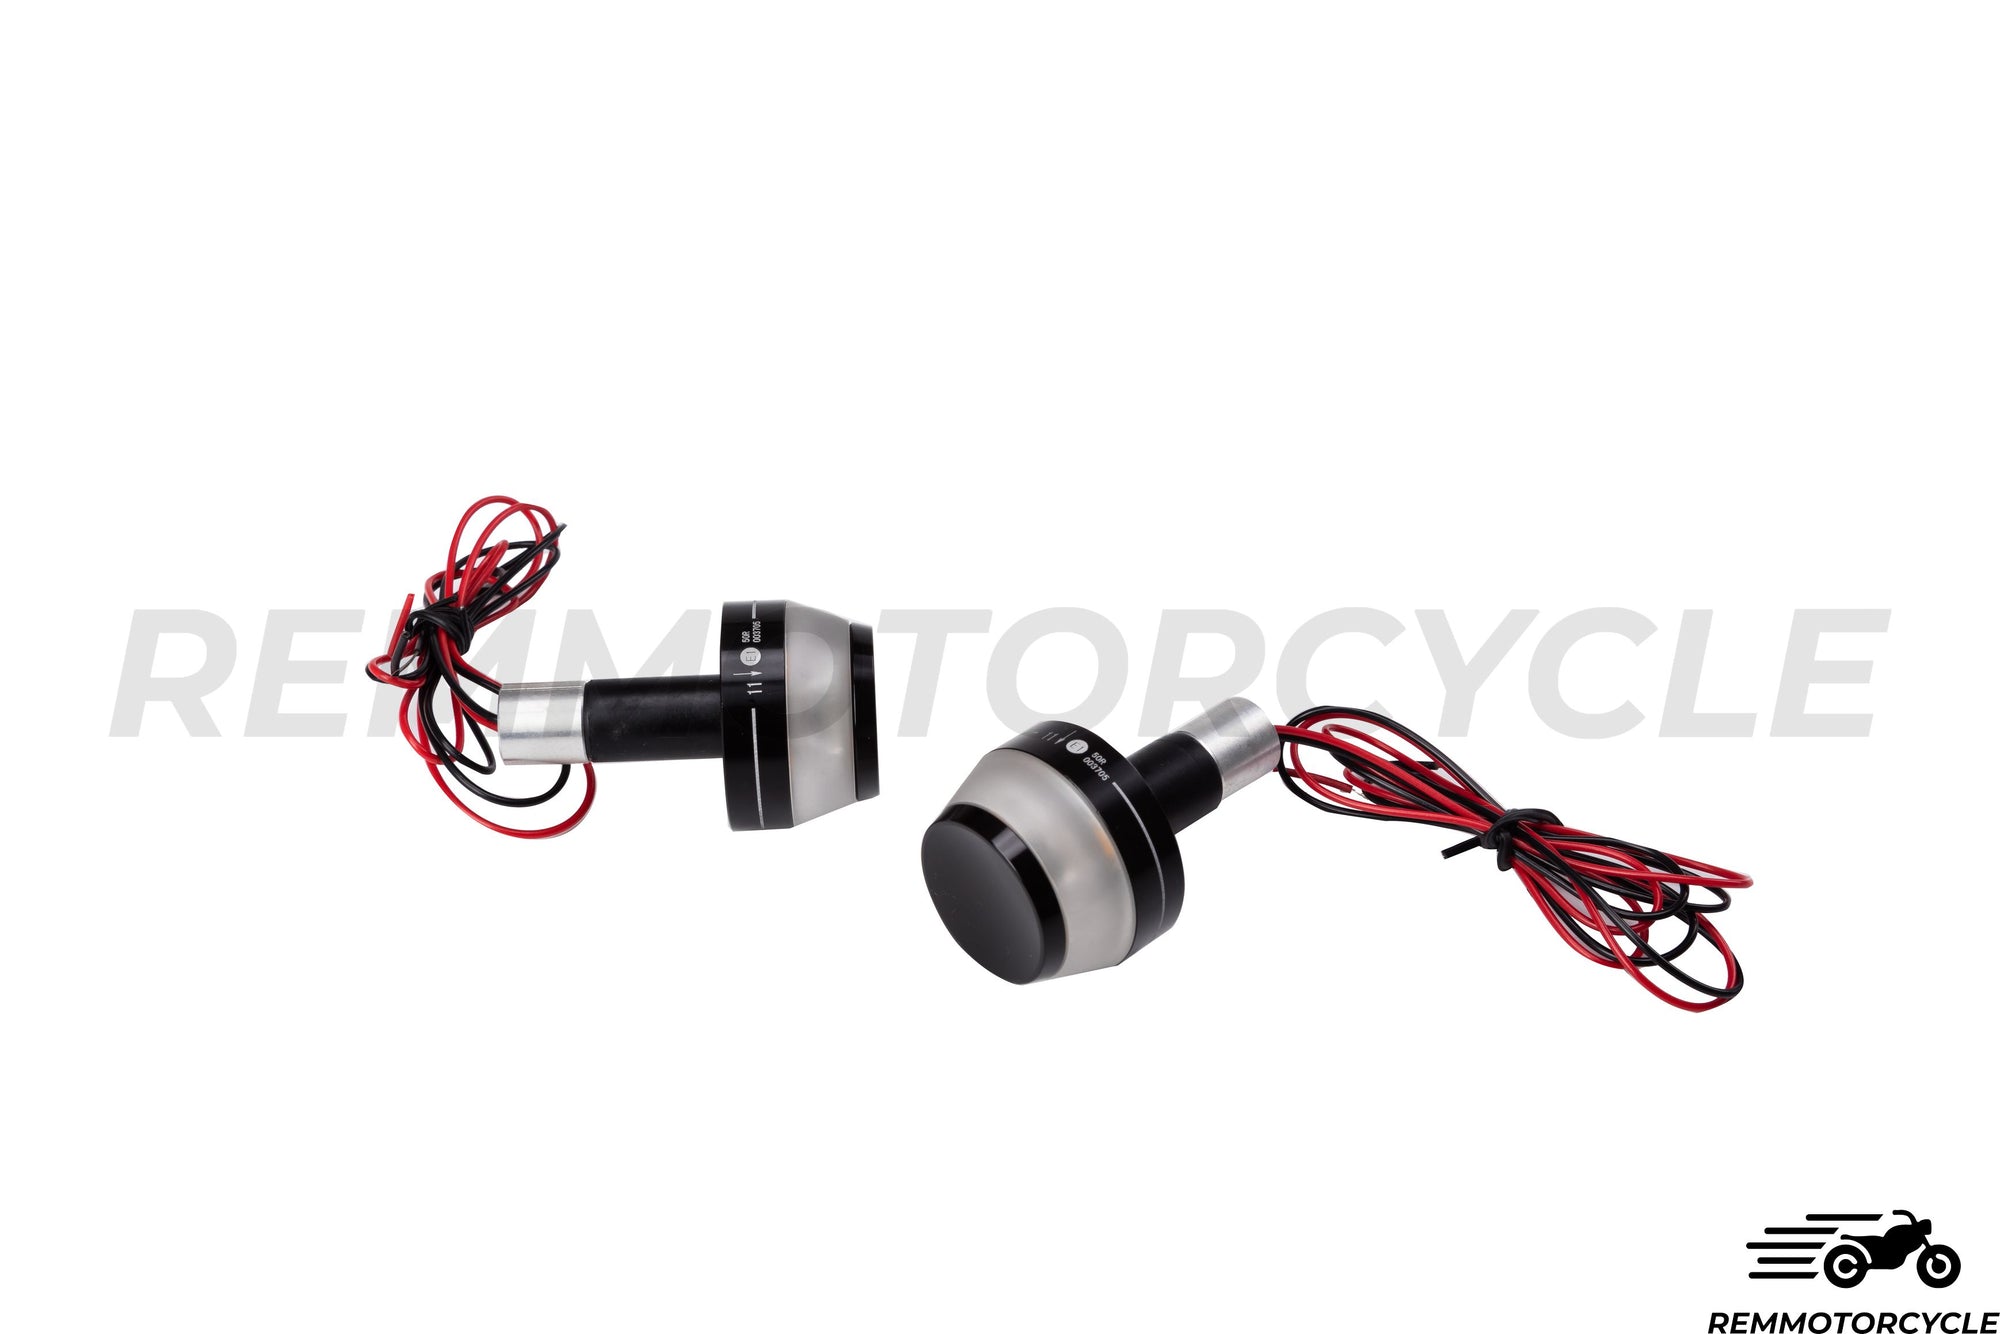
- Clignotants
- Commodos
- Compteurs
- Coques Arrières
- Échappements
- Feux arrières
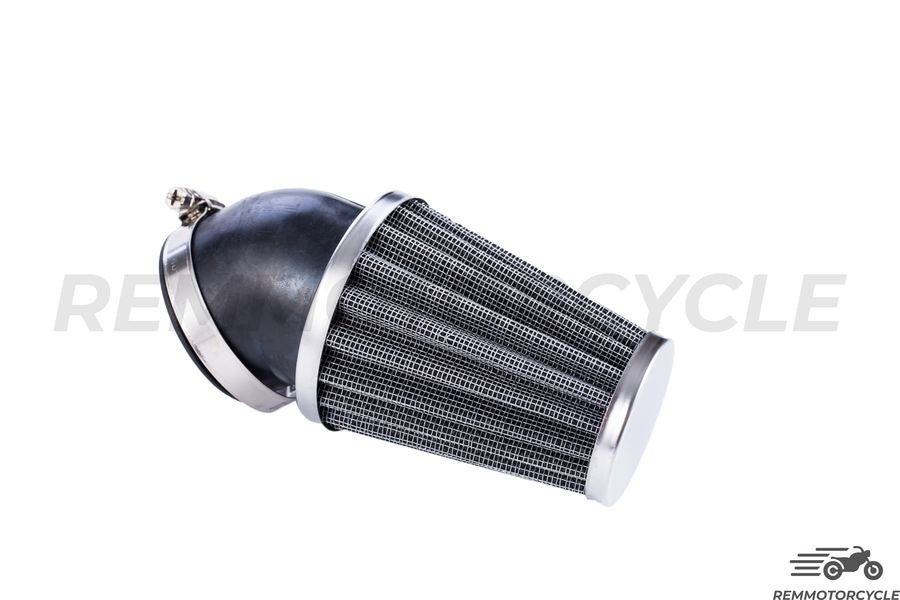
- Filtres à air
- Fourches
- Garde-boues
- Guidons
- Leviers de freins et d'embrayage
- Plaques latérales
- Poignées
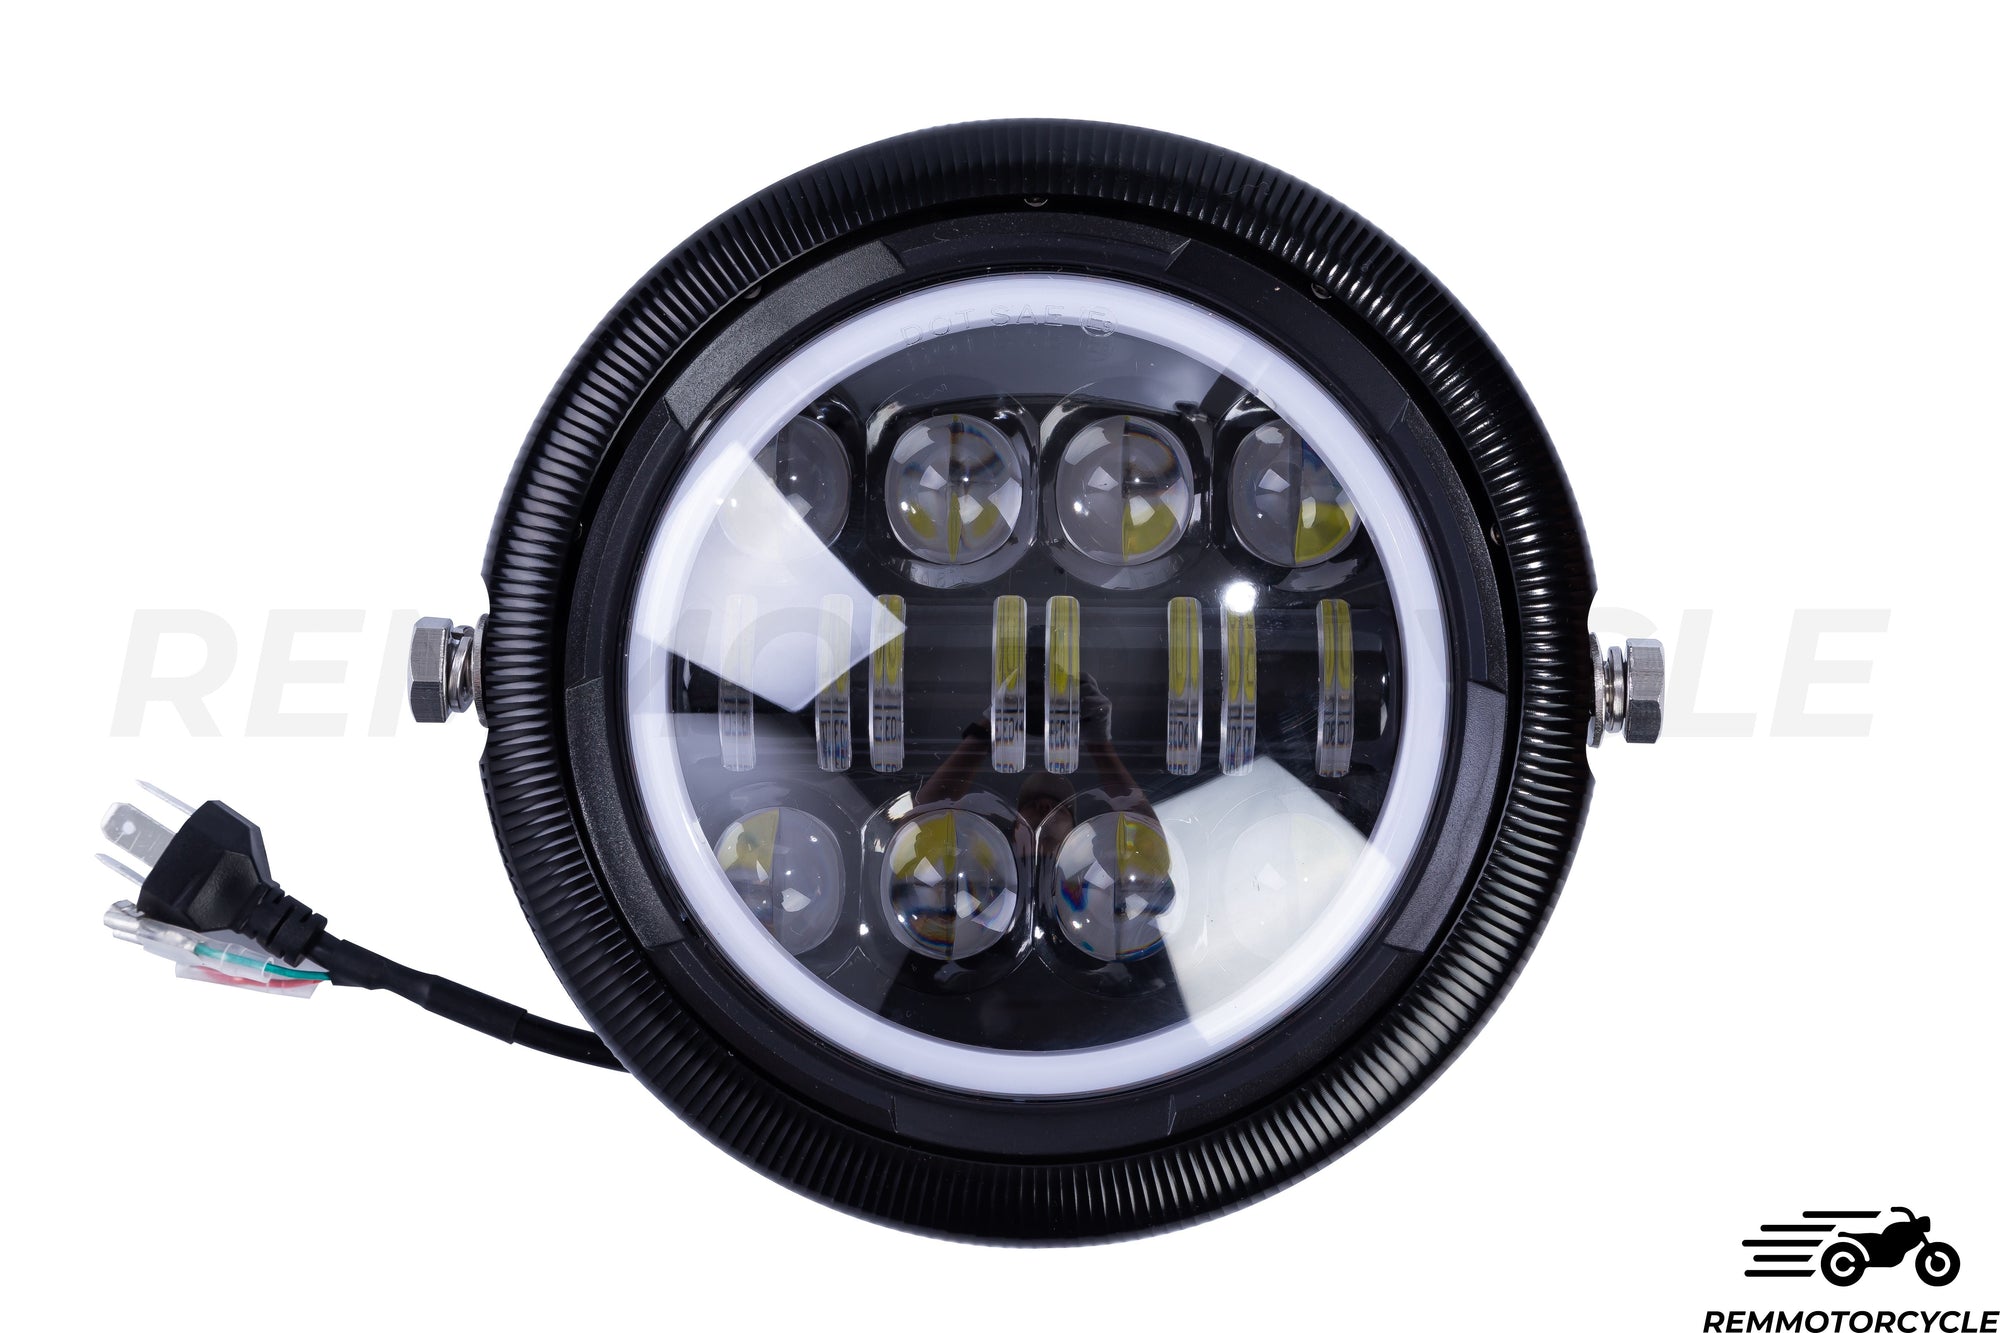
- Phares
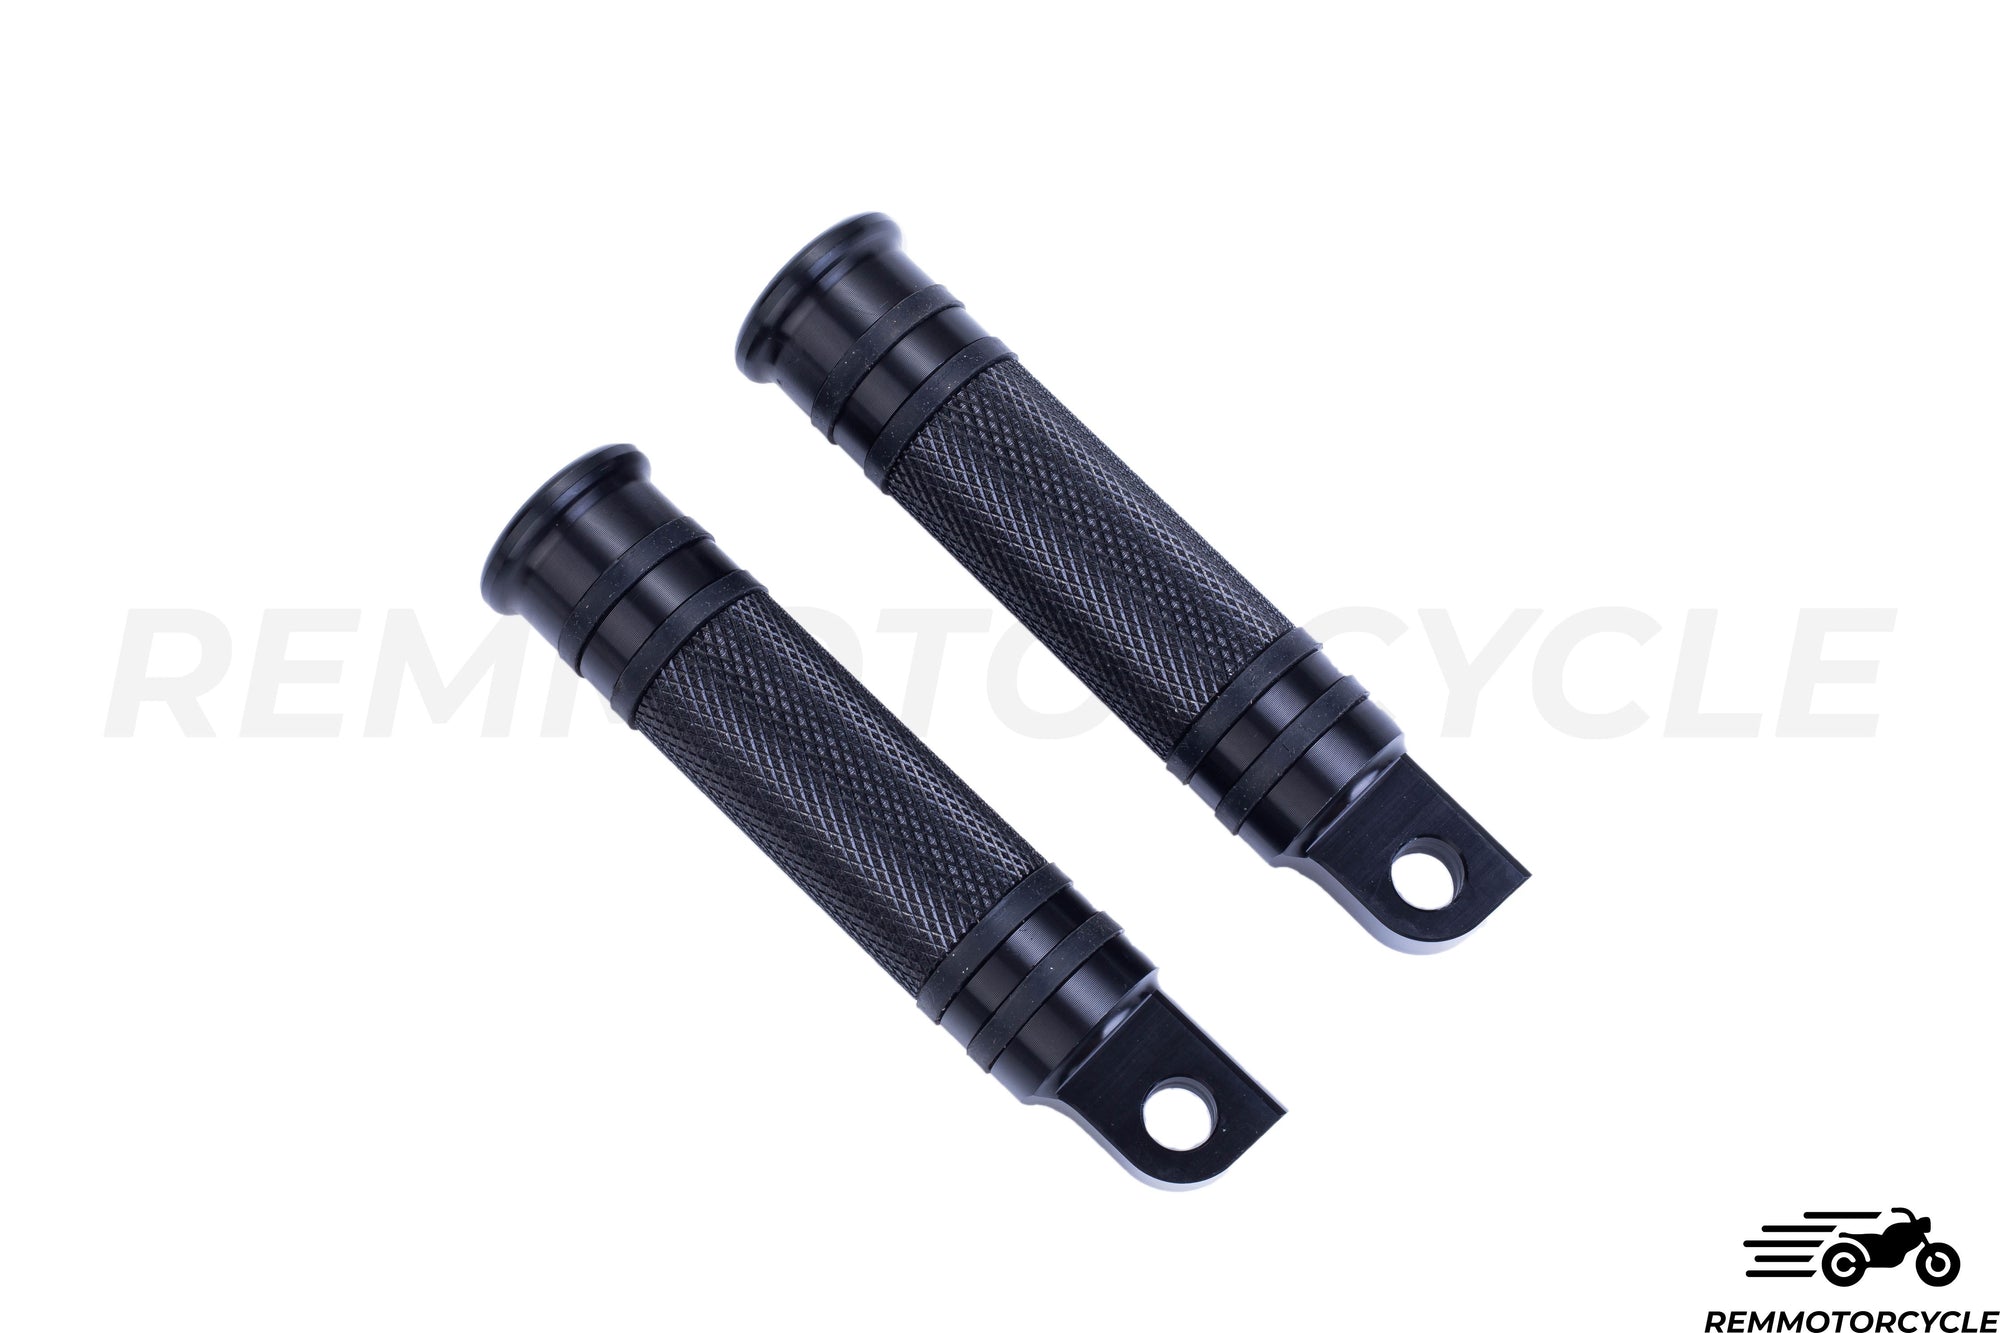
- Repose-pieds
- Réservoirs
- Rétroviseurs
- Selles
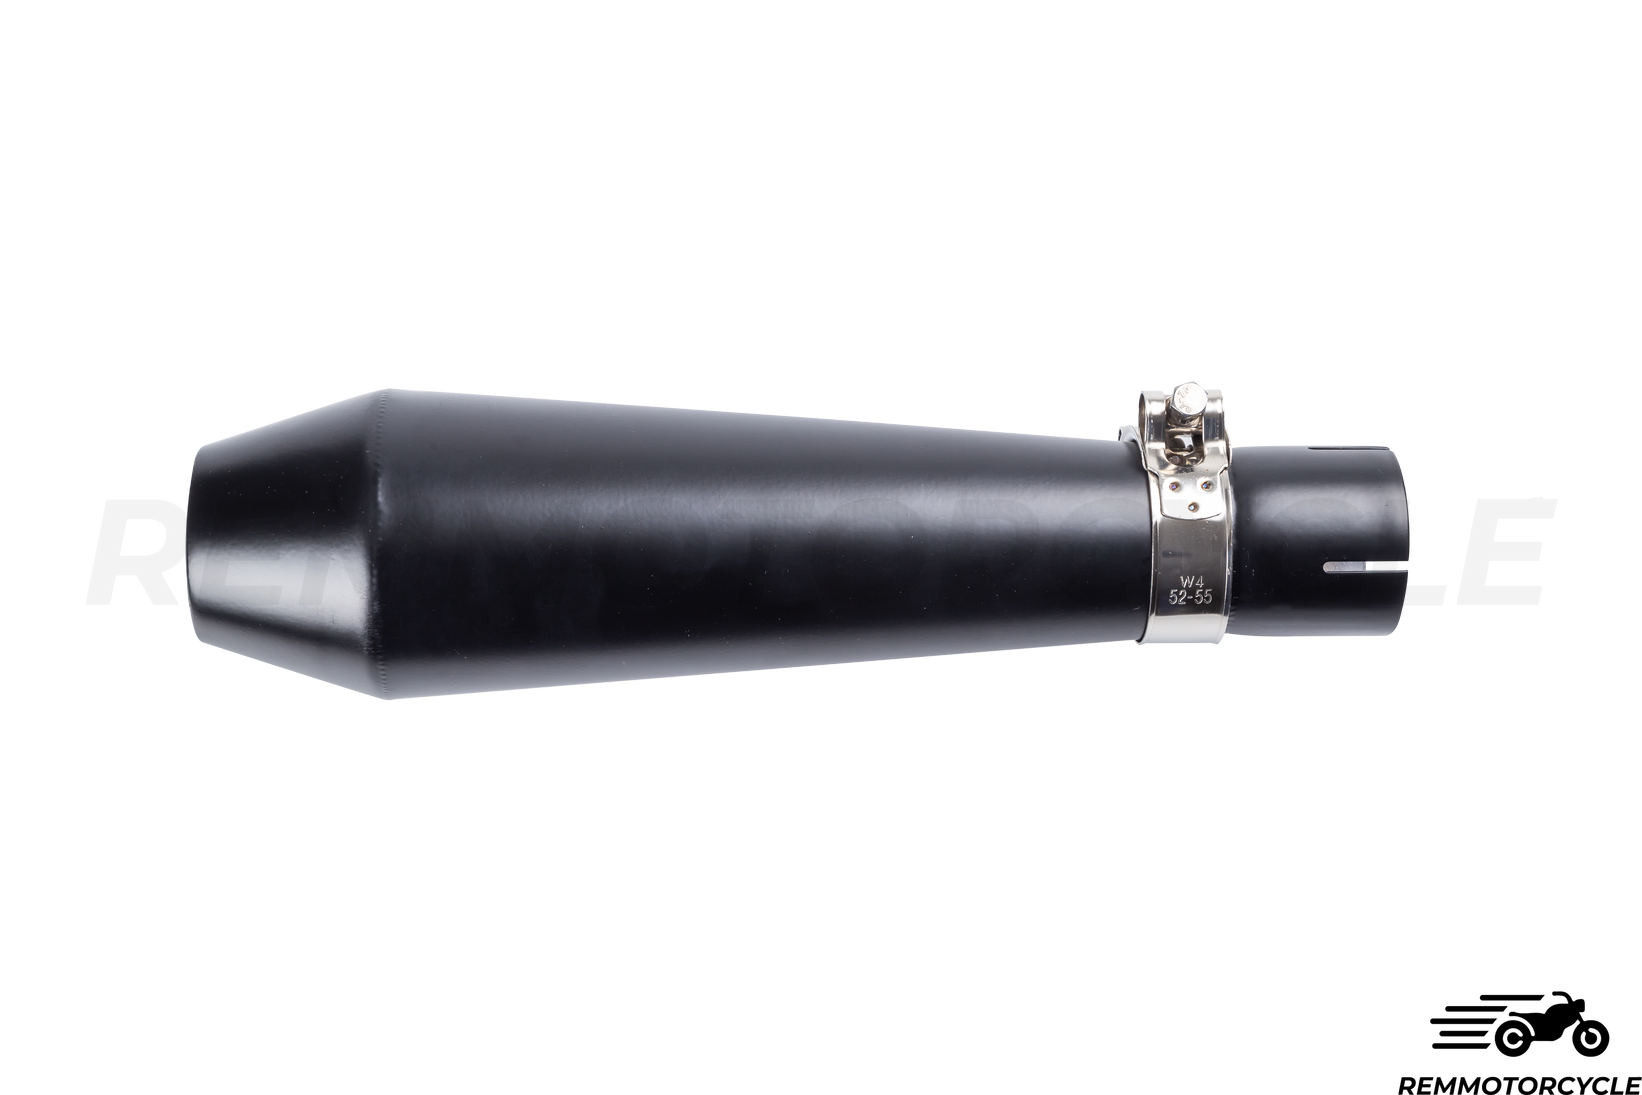
- Silencieux
- Soufflets de fourche
- Supports d'assurance
- Supports de plaque d'immatricuation
- Amortisseurs
- Bandes thermiques
- Boites en aluminium
- Boucles arrière
- Clignotants
- Commodos
- Compteurs
- Echappements
- Feux arrières
- Filtres a air
- Fourches
- Garde-boues
- Guidons
- Leviers de freins et d'embrayage
- Plaques latérales
- Poignées
- Phares
- Repose-pieds
- Réservoirs
- Retroviseurs
- Sabot moteur
- Selles
- Silencieux
- Soufflets de fourche
- Supports d'assurance
- Supports de plaque d'immatriculation
- Amortisseurs
- Bandes thermiques
- Boites en aluminium
- Clignotants
- Commodos
- Compteurs
- Echappements
- Feux arrière
- Fourches
- Garde-boues
- Guidons
- Leviers de freins et d'embrayage
- Plaques latérales
- Poignées
- Phares
- Repose-pieds
- Réservoirs
- Rétroviseurs
- Selles
- Silencieux
- Soufflets de fourche
- Supports d'assurance
- Supports de plaque d'immatriculation
- Amortisseurs
- Bandes thermiques
- Boites en aluminium
- Boucles arrière
- Bulles
- Clignotants
- Commodos
- Compteurs
- Coques arrières
- Echapements
- Feux arrière
- Filtres à air
- Fourches
- Garde-boues
- Guidons
- Leviers de freins et d'embrayage
- Plaques latérales
- Poignées
- Phares
- Repose-pieds
- Réservoirs
- Rétroviseurs
- Selles
- Silencieux
- Soufflets de fourche
- Supports d'assurances
- Supports de plaque d'immatriculation
- Amortisseurs
- Bandes thermiques
- Boites en aluminium
- Boucles arrière
- Clignotants
- Commodos
- Compteurs
- Echappements
- Feux arrière
- Filtres à air
- Fourches
- Garde-boues
- Guidons
- Leviers de freins et d'embrayage
- Plaques latérales
- Poignées
- Phares
- Repose-pieds
- Réservoirs
- Rétroviseurs
- Sabot moteur
- Selles
- Silencieux
- Soufflets de fourche
- Supports d'assurance
- Supports de plaque d'immatriculation
RECHERCHE PAR MARQUES DE MOTO


VOUS VOULEZ TRANSFORMER VOTRE MOTO ?
NOUS SOMMES SPECIALISÉS dans les Pieces custom, Pieces Bobber, Pieces cafe racer, Pieces Scrambler et Pieces moto vintage...
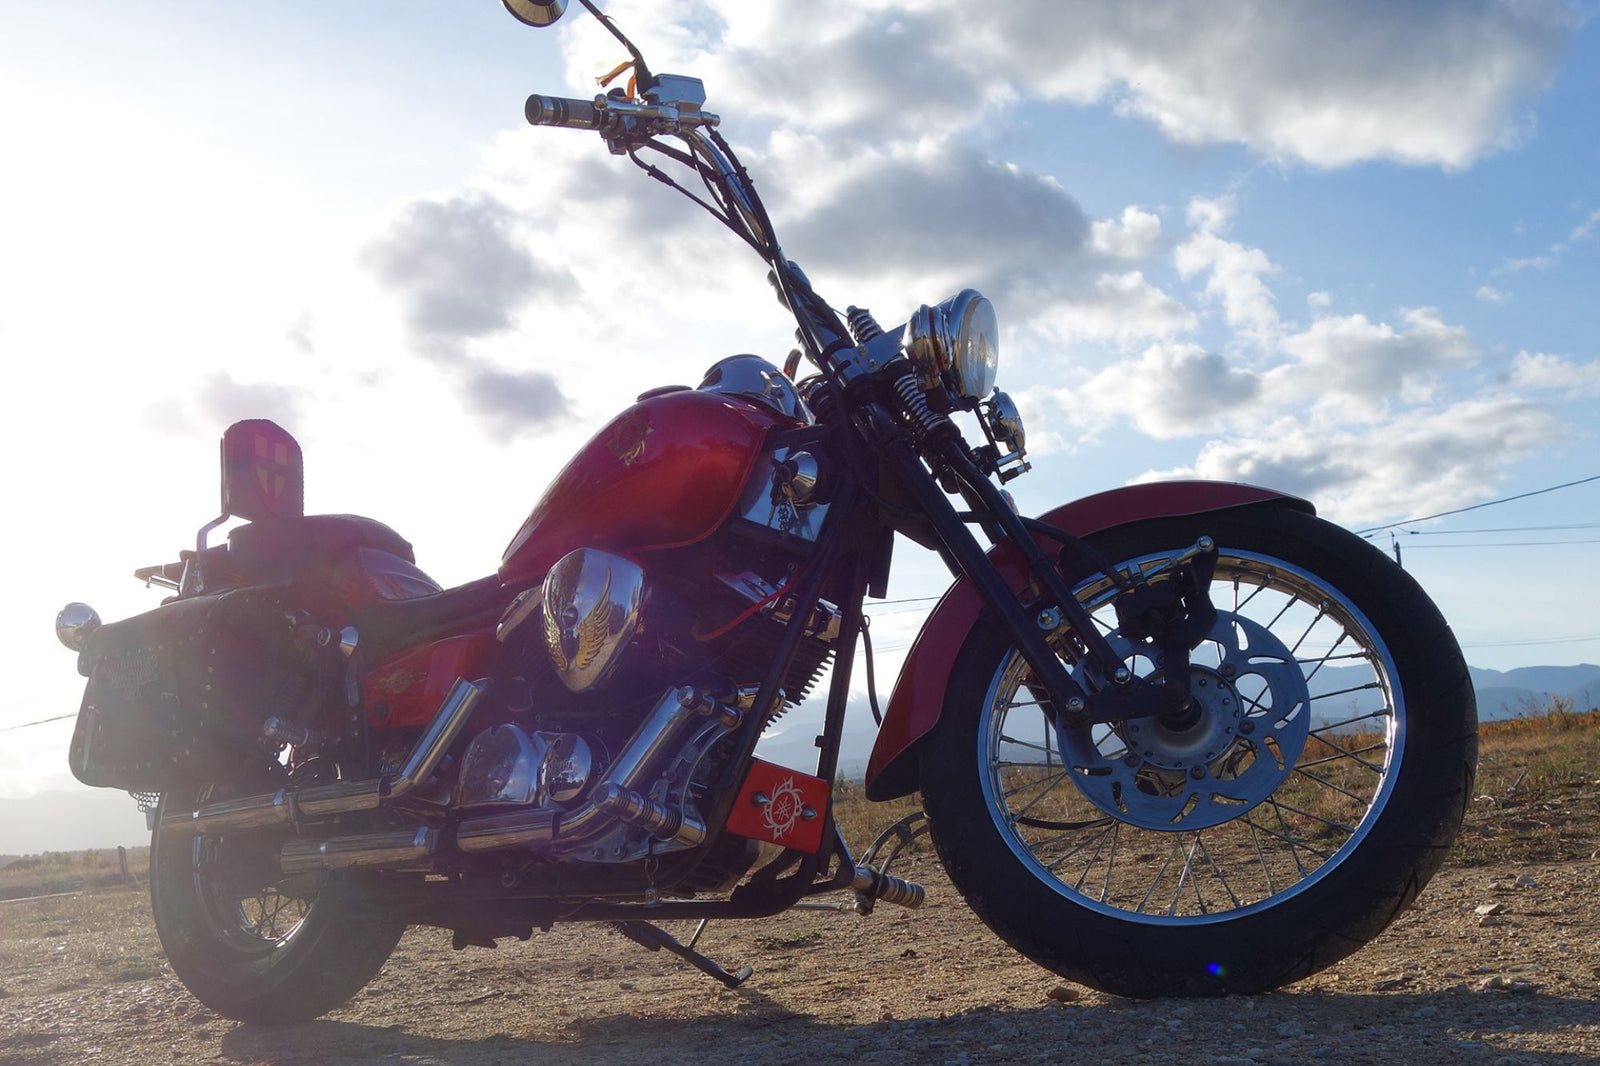
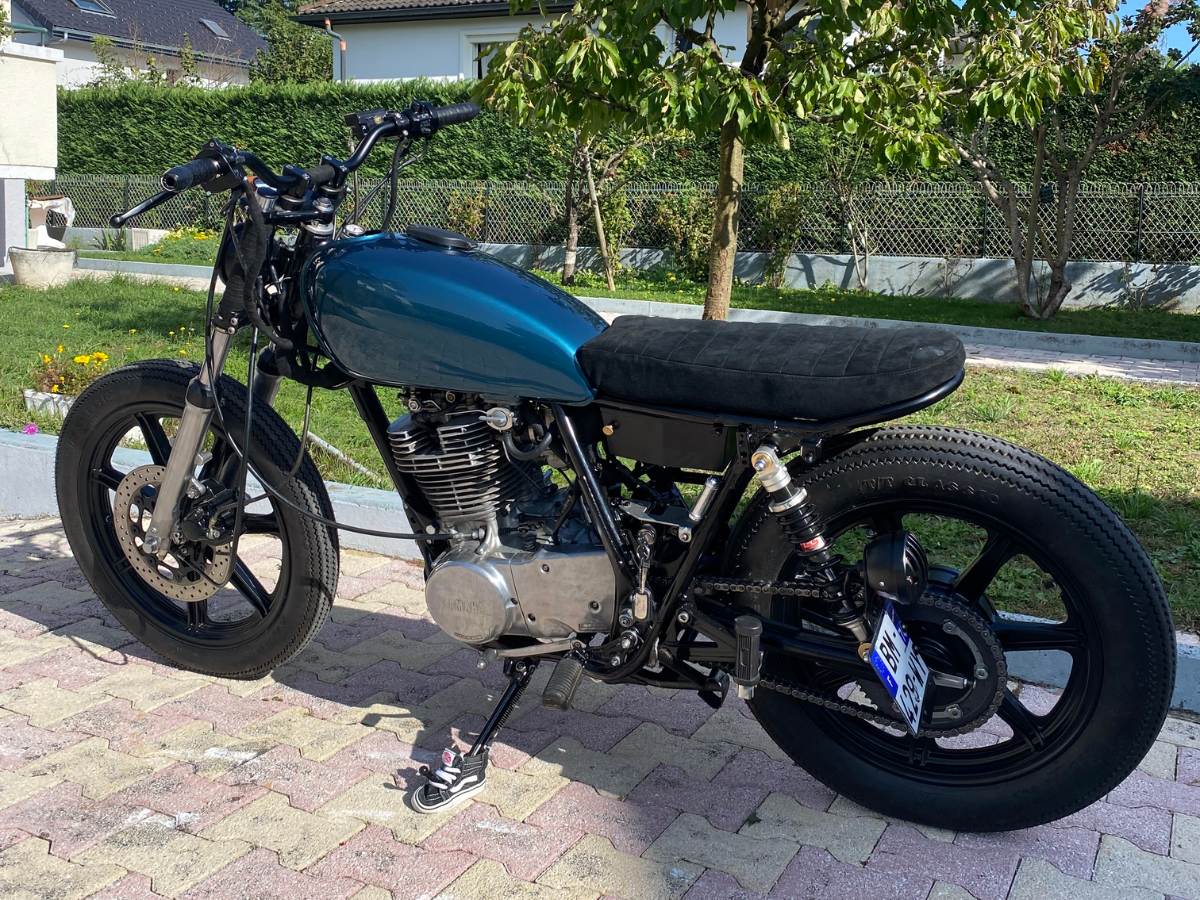
Vous souhaitez faire de votre moto un : Cafe Racer, Bobber, Chopper, Brats, Tracker, Scrambler, ou vous souhaitez simplement ajouter une pièce un peu différente sur votre moto ? Nous avons pour vous un large choix de pièces.
Sur Remmotorcycle nous avons mis en places trois types de recherche pour vous facilité à trouver rapidement ce que vous cherchez ! :
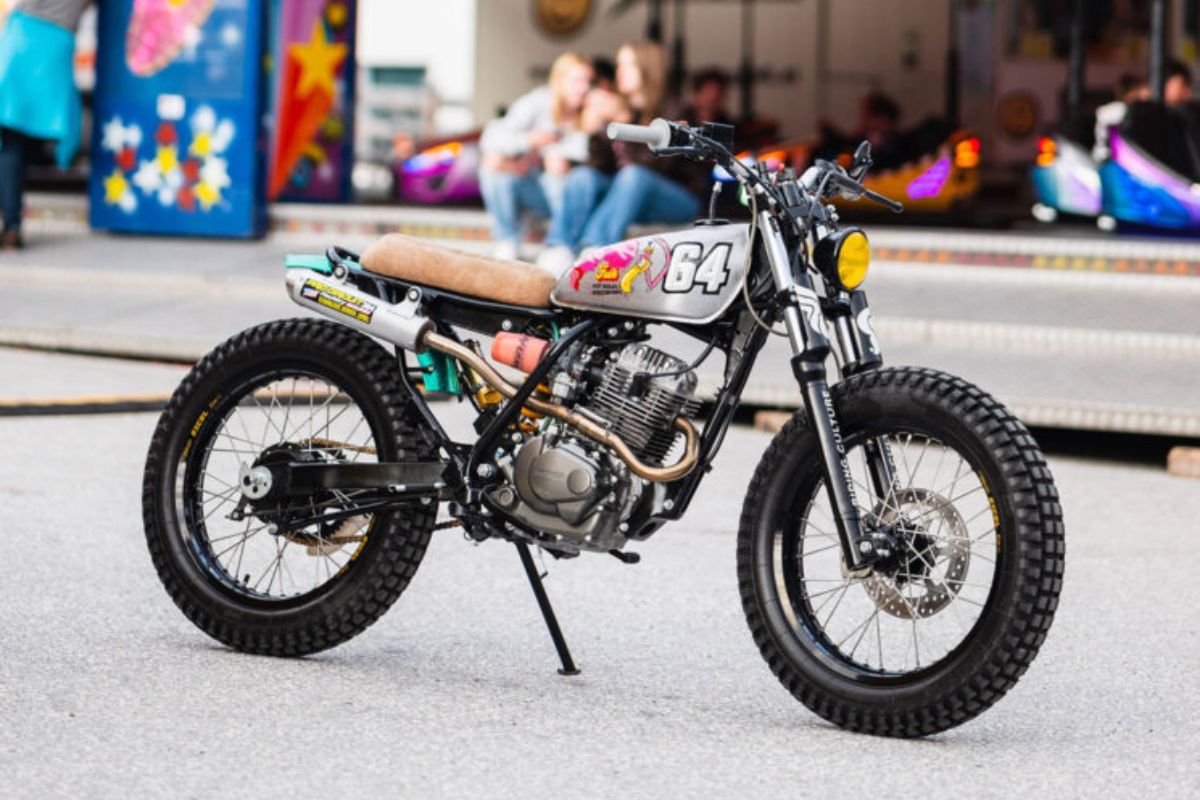
RECHERCHE PAR INSPIRATION :
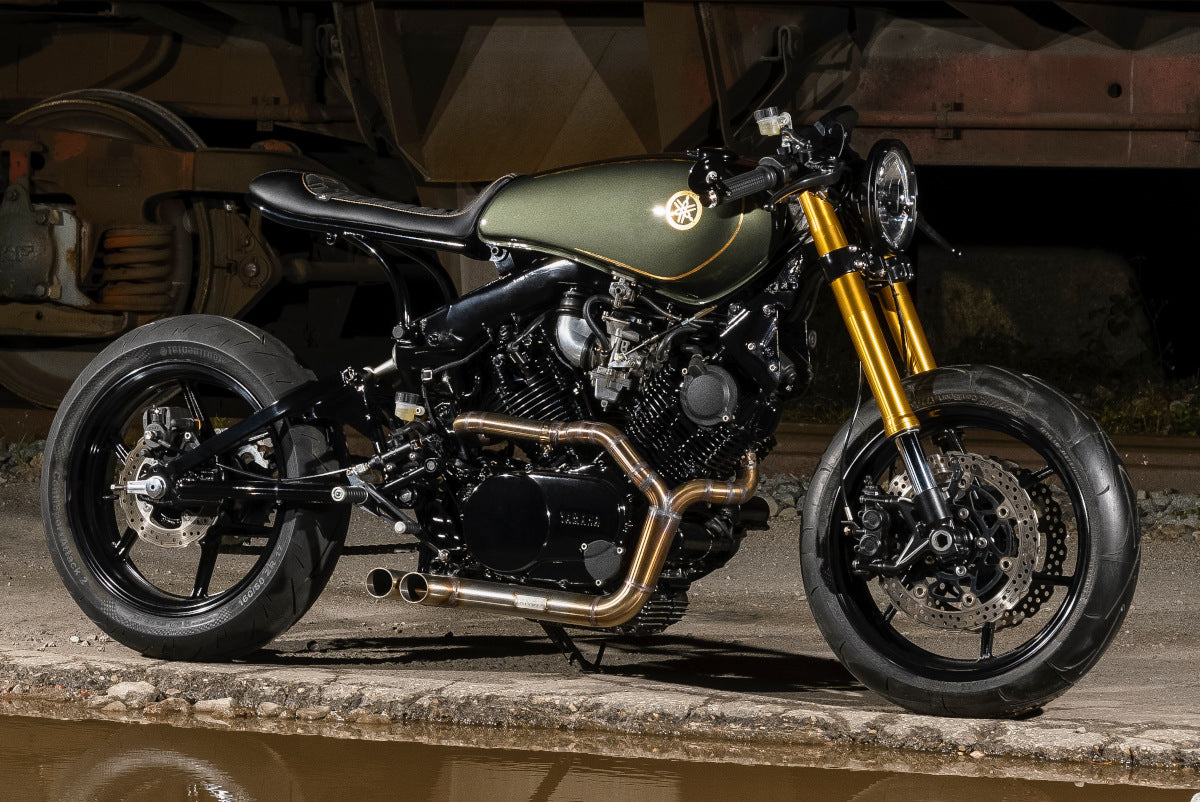
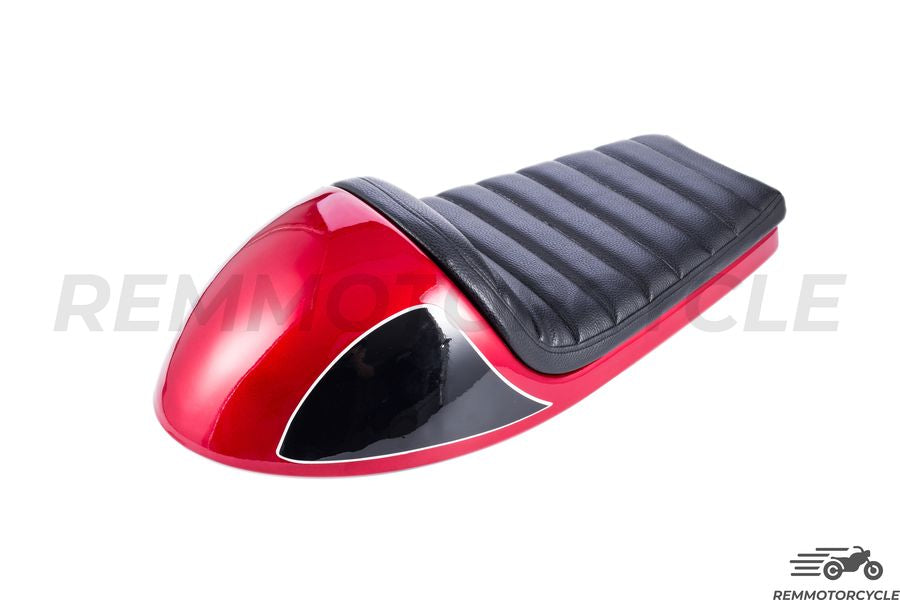
Explorer nos pièces de customisation via les INSPIRATIONS. Vous avez en tête un style en particulier ? Alors cette rubrique vous permettra de trouvez nos produits comme par exemple la selle cafe racer.
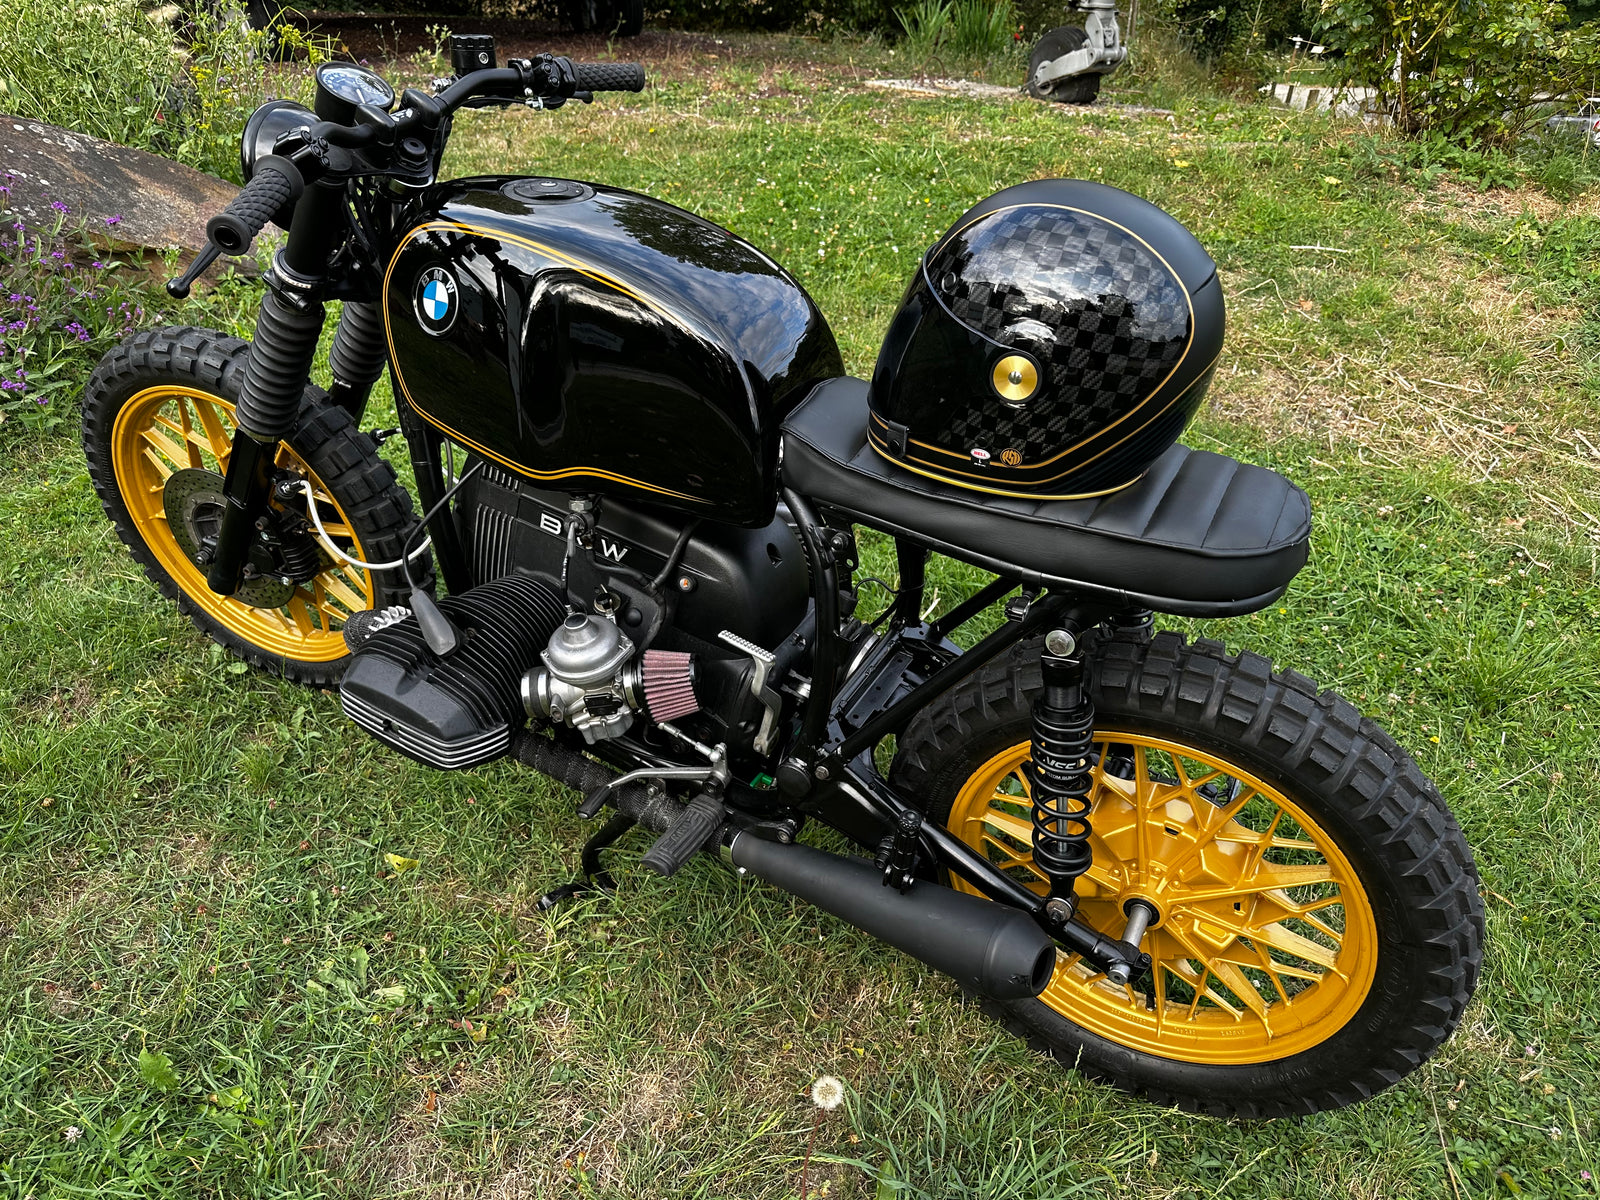
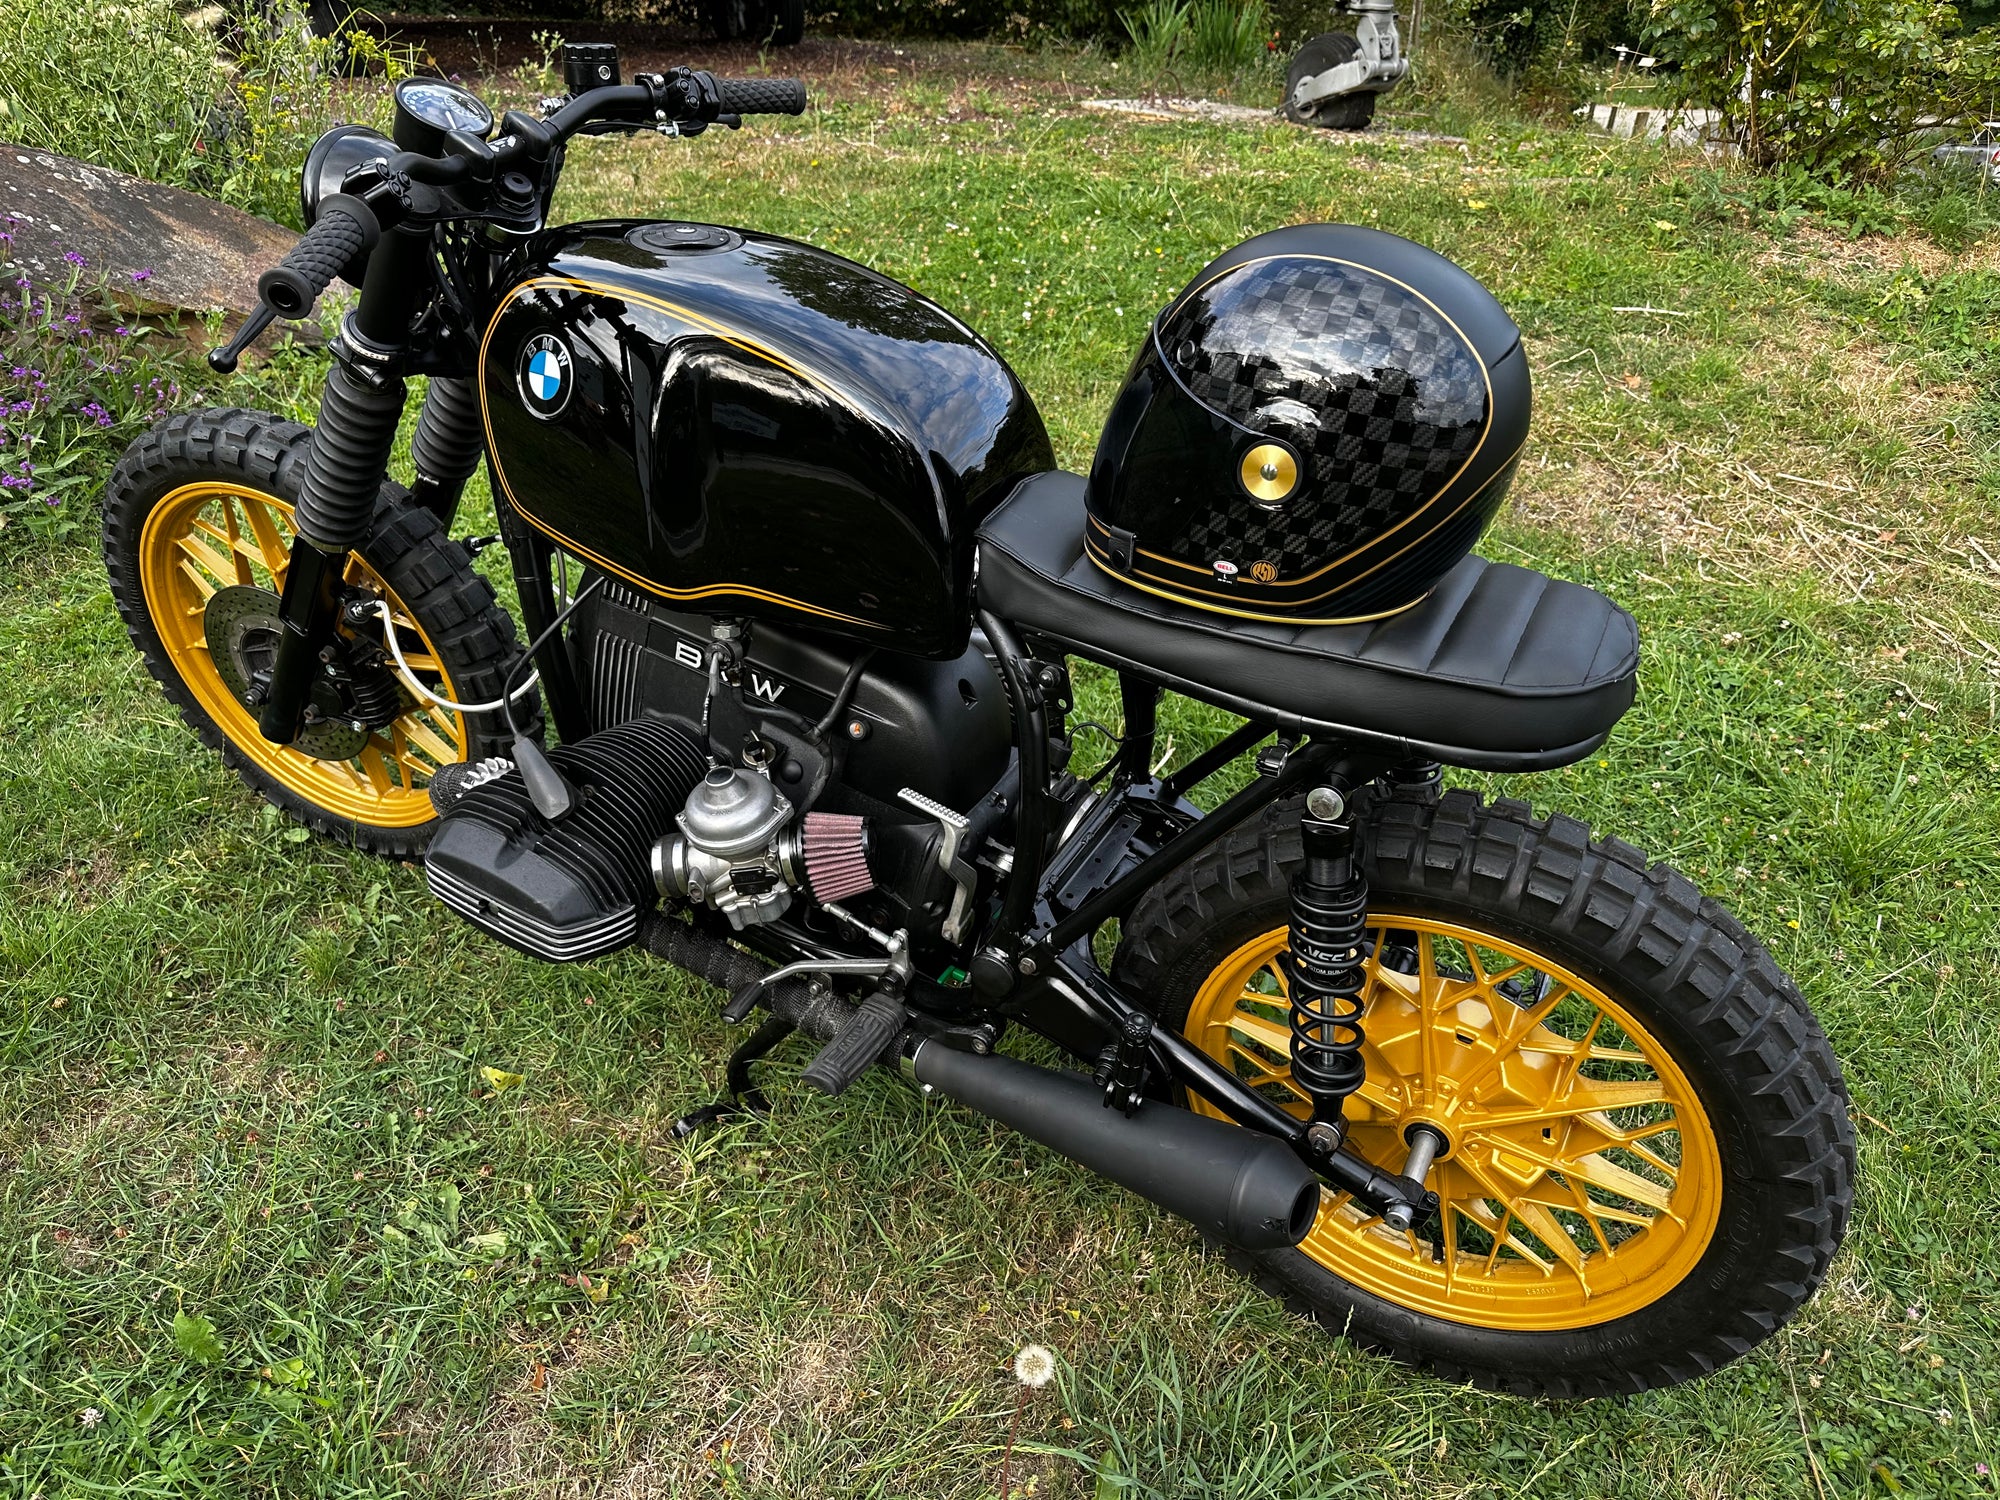
La selle cafe racer est un élément essentiel dans la transformation d'une moto en cafe racer. En effet, depuis l'origine des cafe racers, les selles monoplaces à coque sont un élément primordial de la préparation. Nous vous proposons de nombreuses références de selles, avec une boucle LED, à coque ABS, à coque aluminium et même une version sur-mesure en aluminium.
RECHERCHE PAR CATEGORIES :
Dans cette rubrique vous choisissez absolument tout ce que vous voulez !
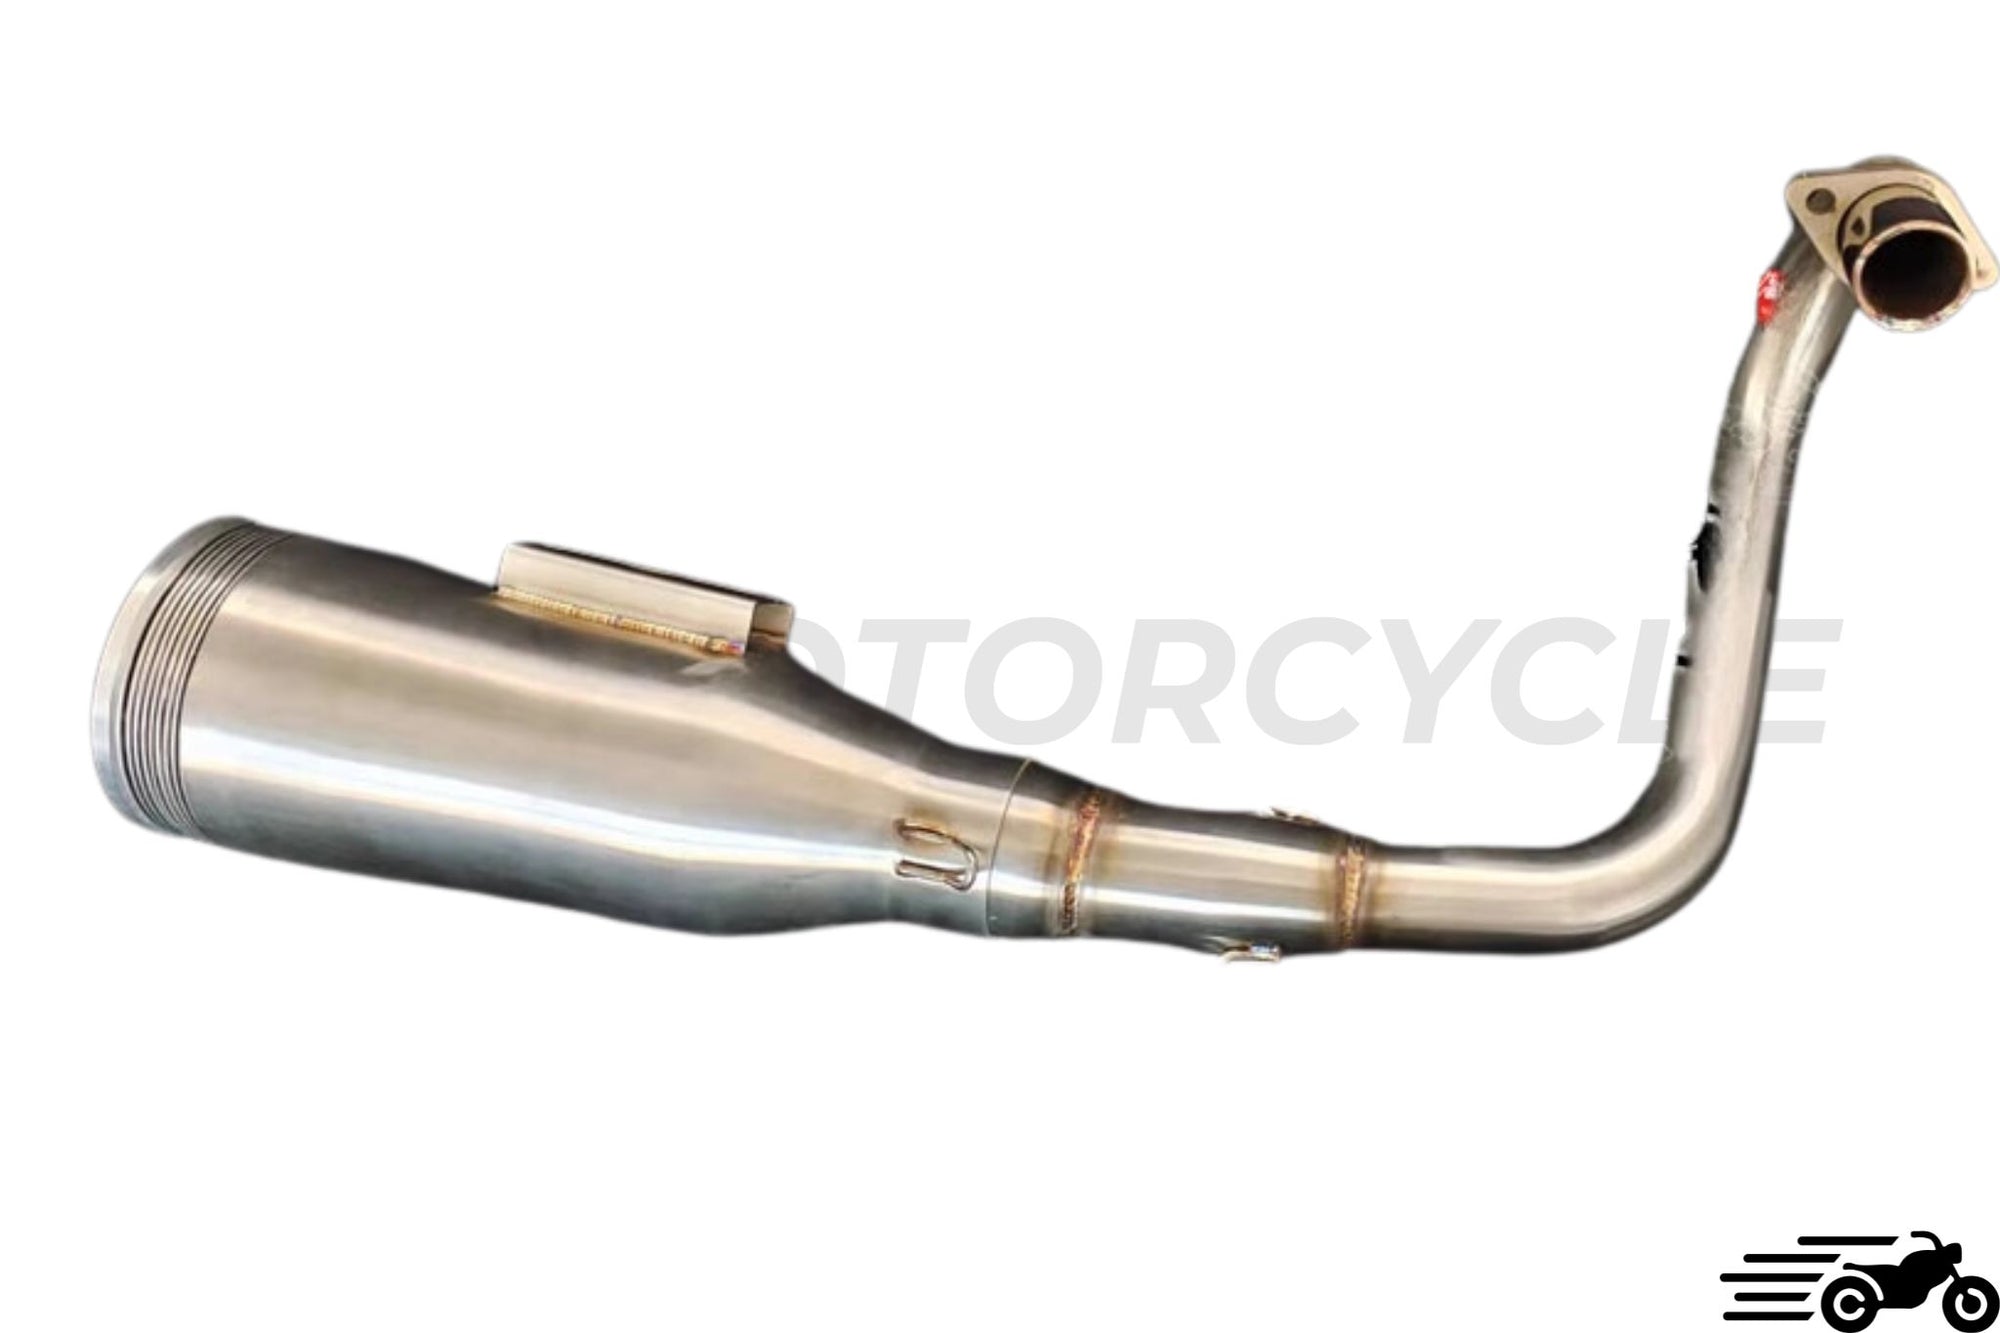
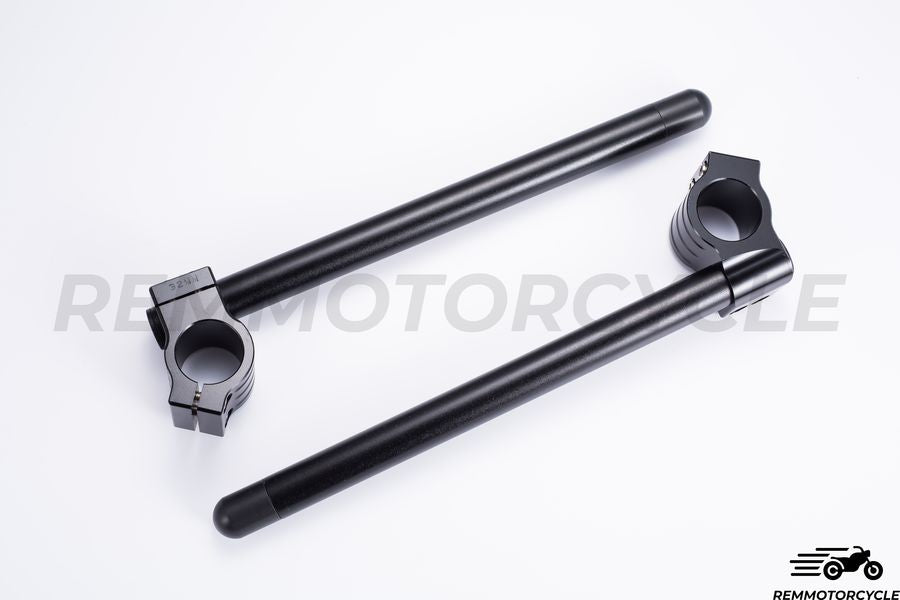
Selle cafe racer, Clignotantled moto, Guidon moto, réservoir, silencieux moto, etc.
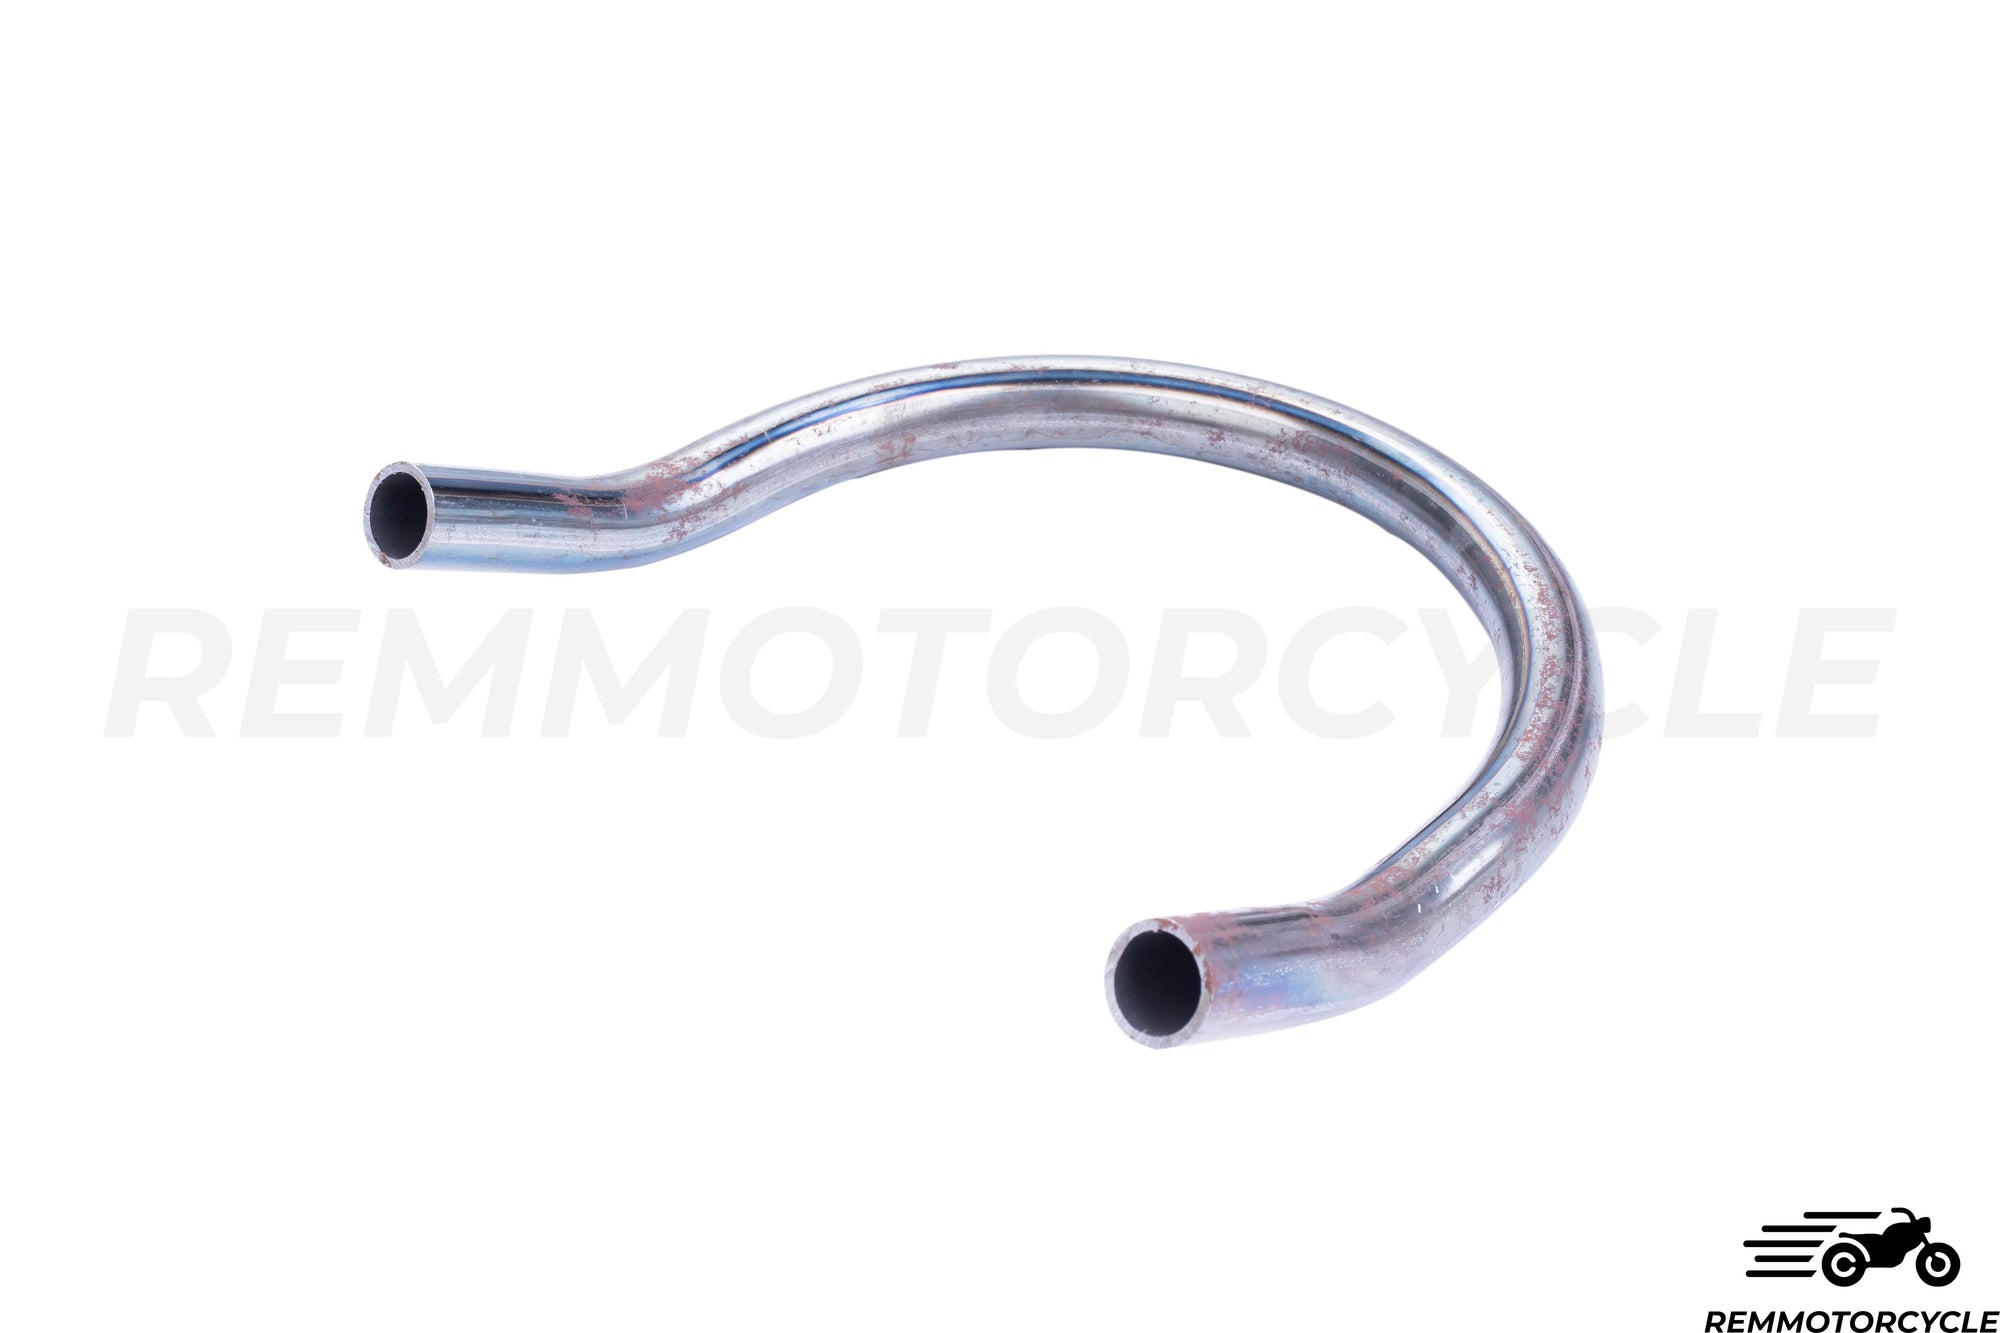
L'une de nos spécialités, est la boucle arrière de moto. Nous proposons une large gamme de boucle en termes de types, de tailles et de formes. Disponibles avec une bande LED intégrée ou non, nos boucles permettent de fermer parfaitement l'arrière de la moto, élément important pour la vue arrière de votre moto. Elles sont aussi disponibles en kit, avec une selle, afin que ces deux éléments soient parfaitement alignés.
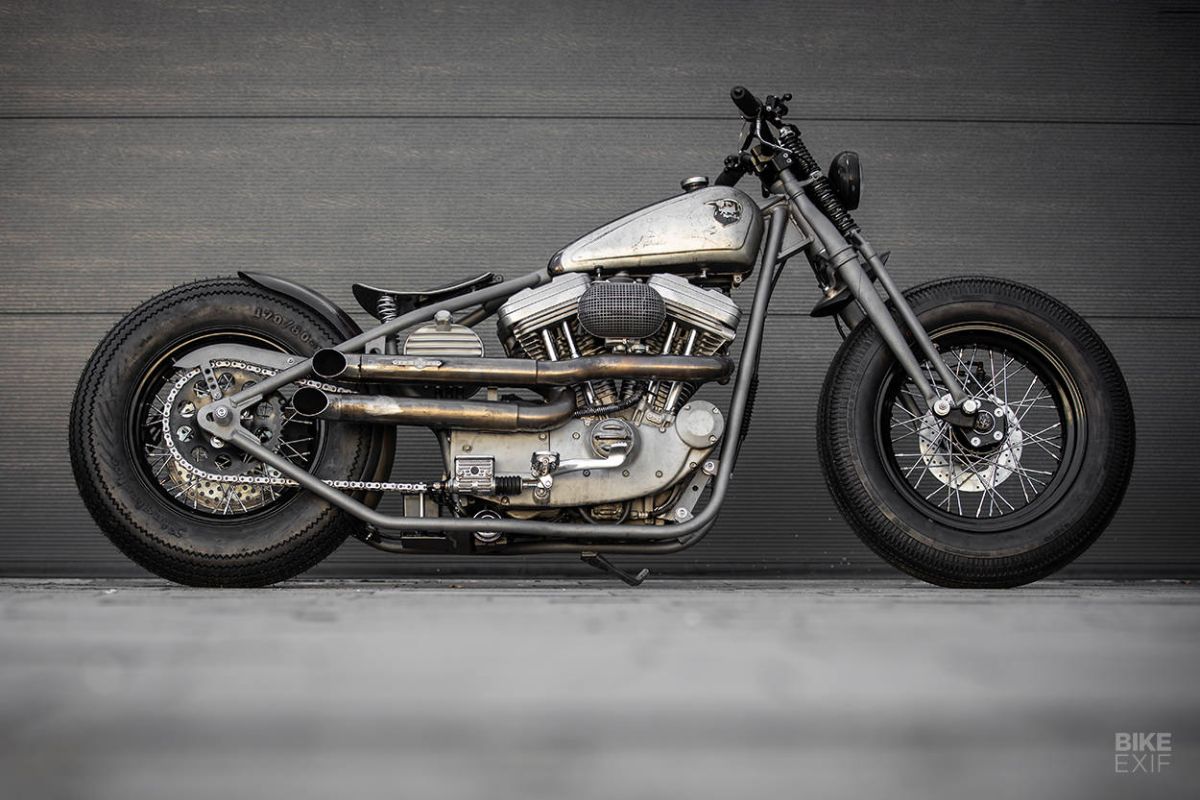
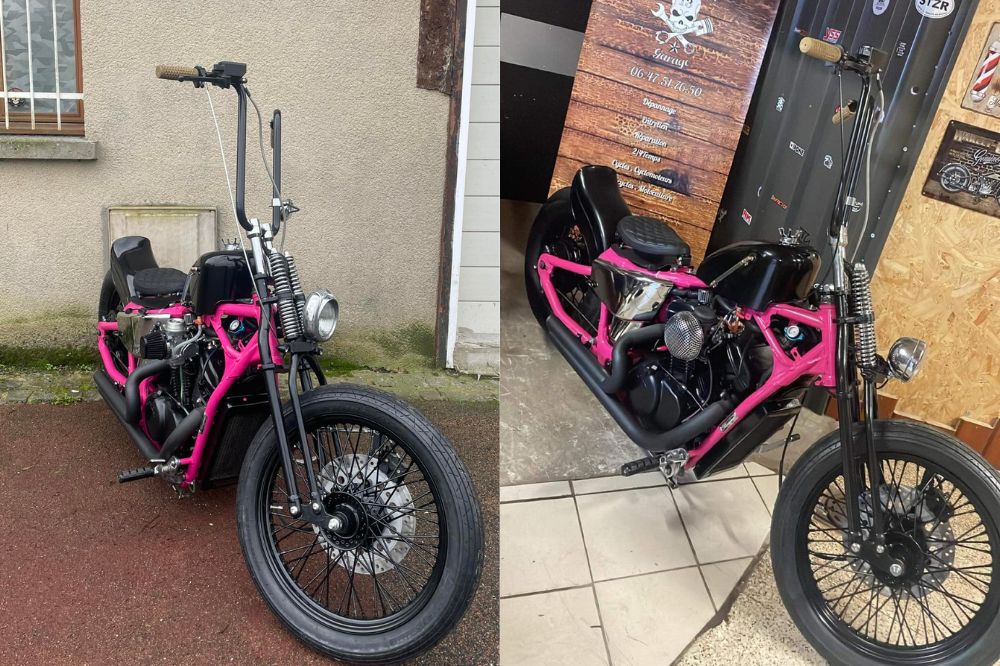
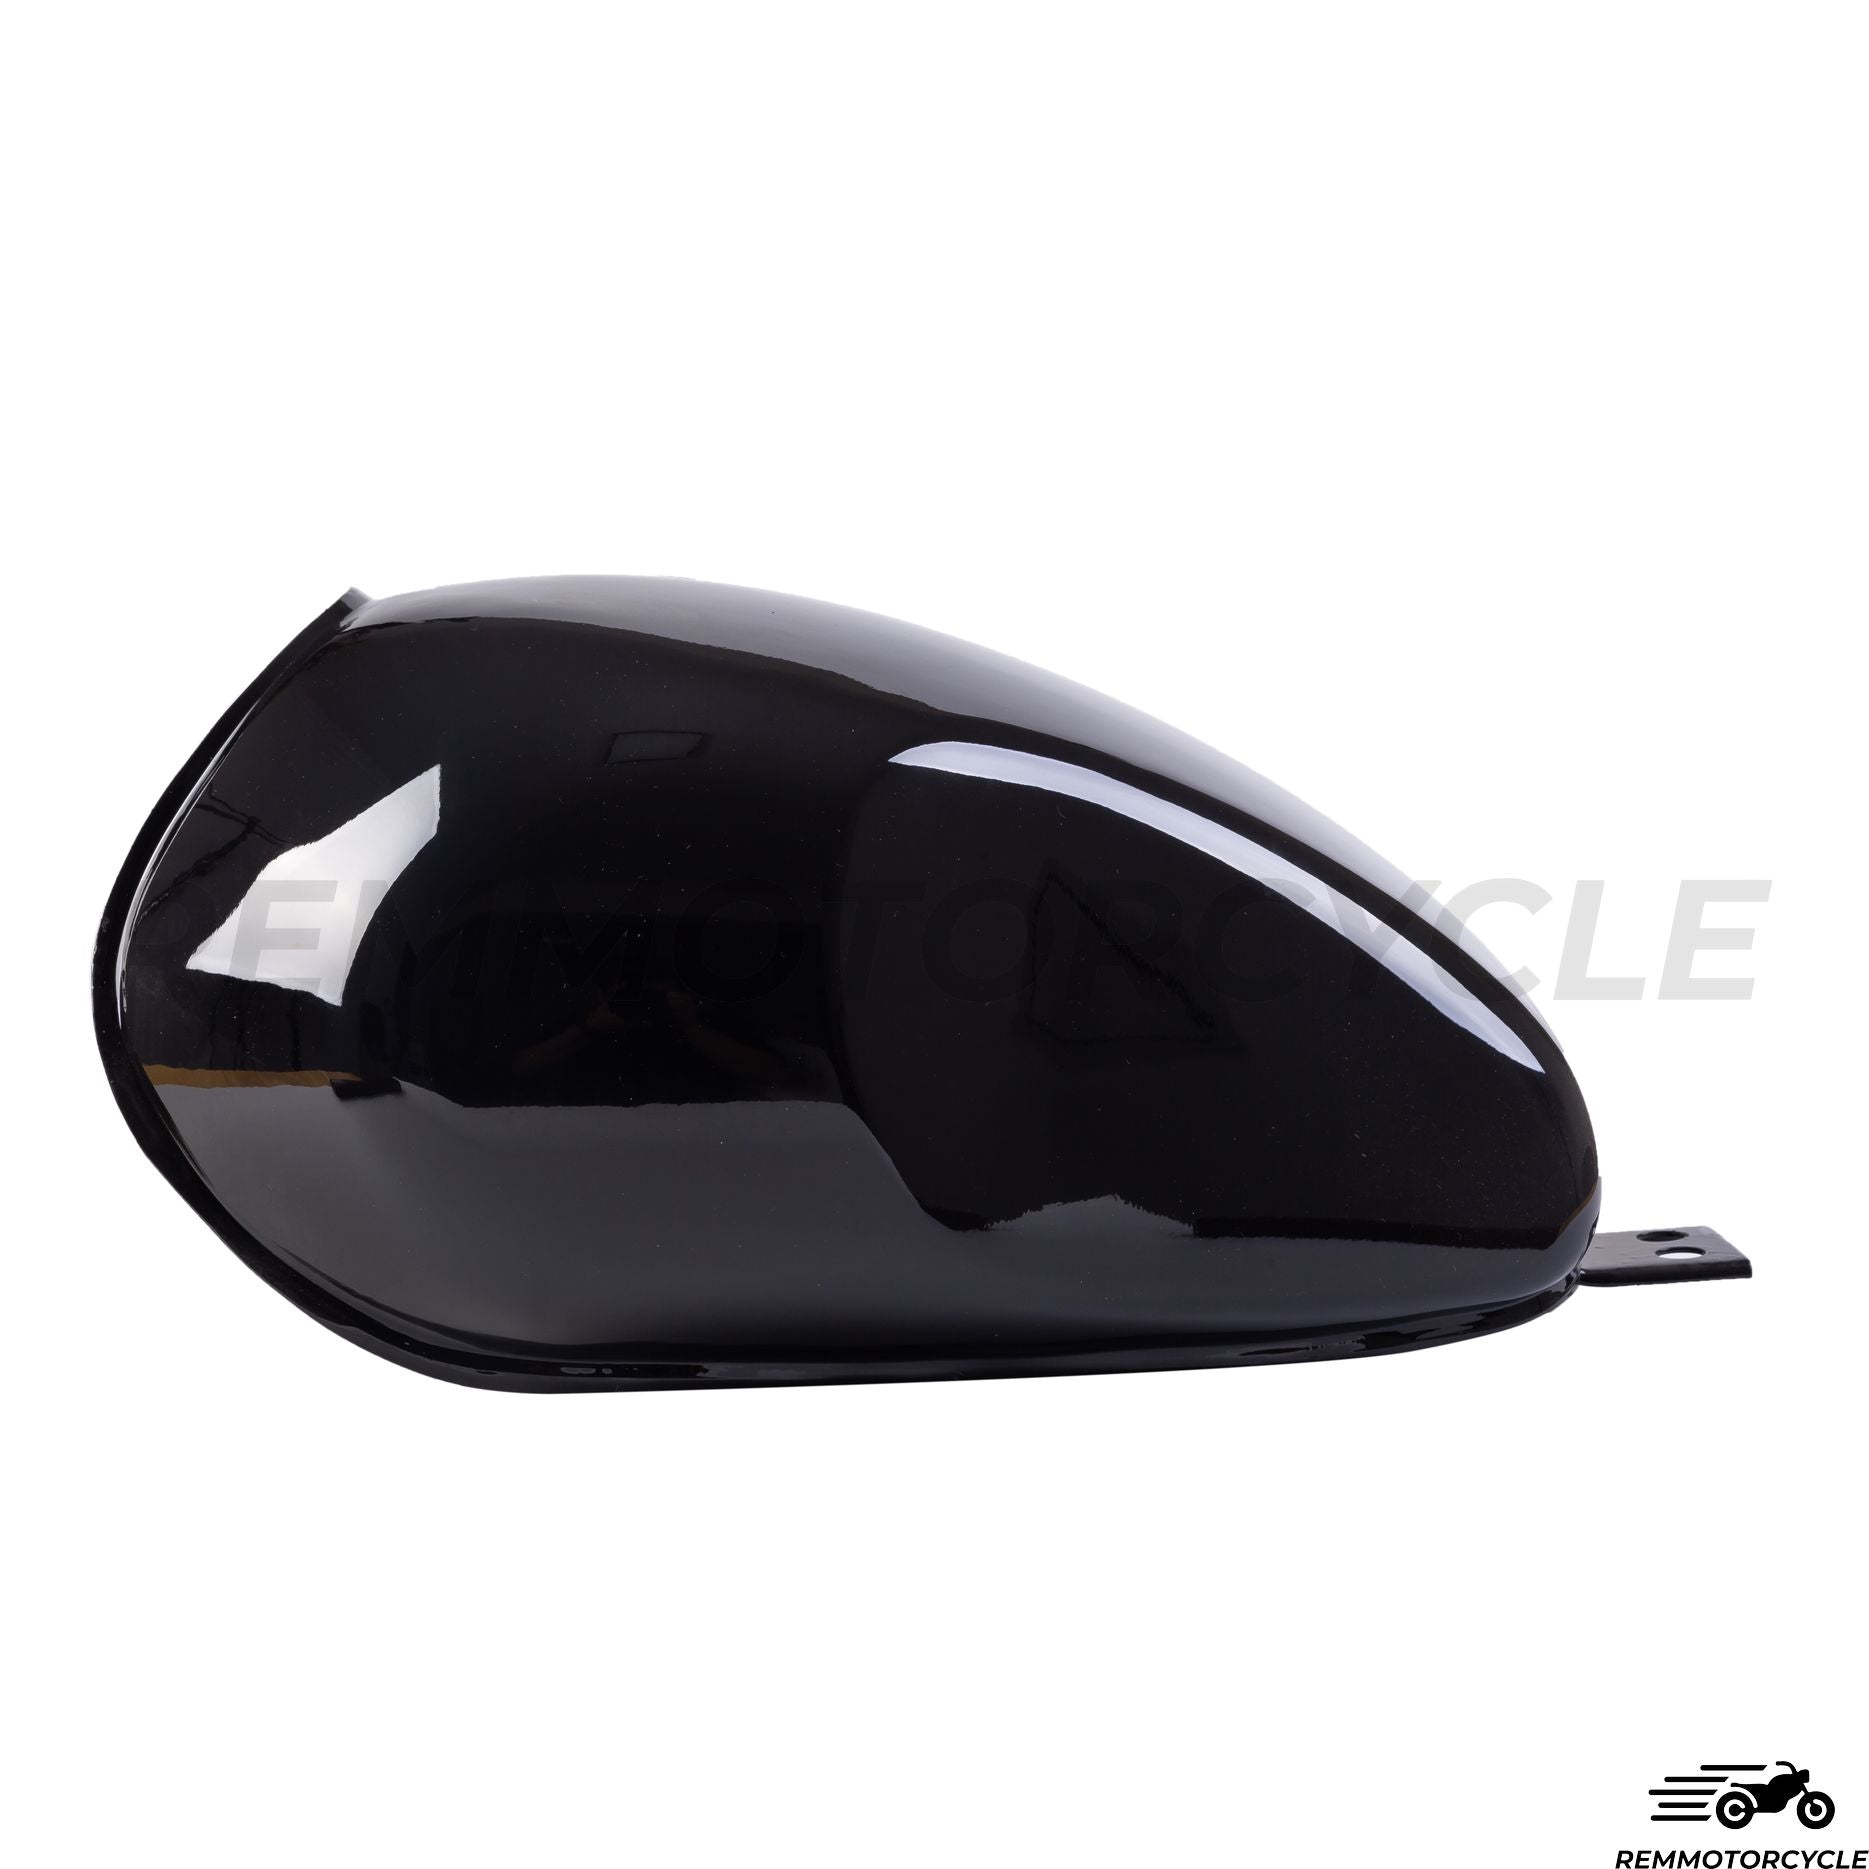
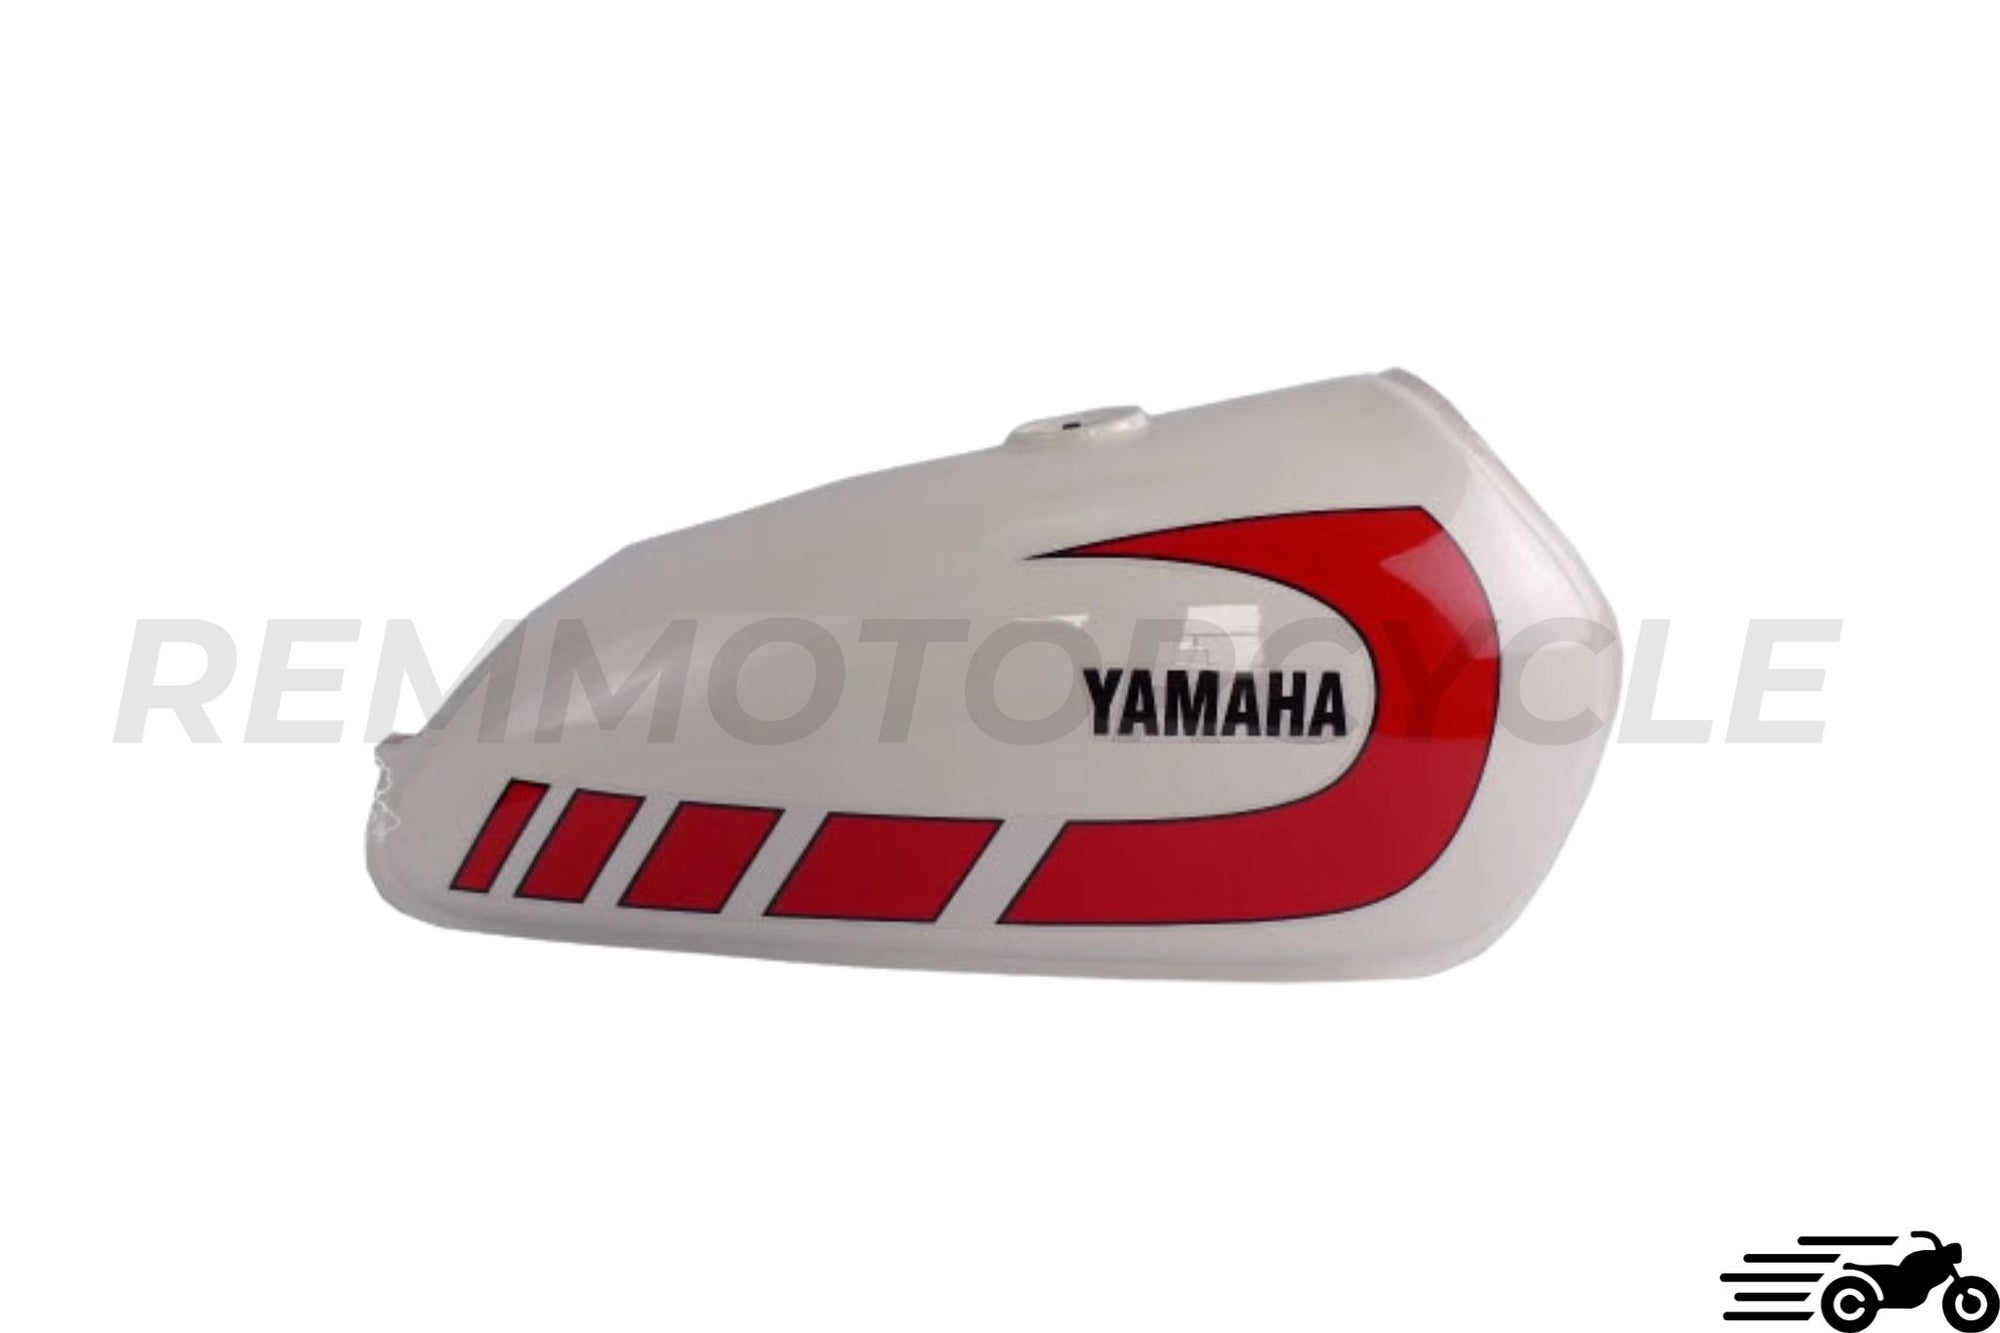
Le réservoir est une pièce maîtresse dans le look d'une moto, celui-ci fait partie de la ligne générale de la moto. Afin d'avoir le réservoir qui vous correspond, nous proposons une large de gamme de réservoirs ainsi qu'une sélection particulière pour les bobbers et choppers. De nombreuses couleurs sont disponibles et ils peuvent être peints ou vernis à votre demande.
Dans cette catégorie, pour les fans de bobber, nous avons un produit unique à vous proposer un kit complet bobber à personnaliser.
RECHERCHE PAR MARQUES DE MOTO :
Vous rechercher un produit qui se monte parfaitement au modèle de votre moto (BENELLI, BMW, BRIXTON, DUCATI, GUZZI, HARLEY-DAVIDSON, HONDA, ROYAL ENFIELD, KAWAZAI, SUZUKI, TRIUMPH, YAMAHA) ? Cette rubrique est faite pour vous ! Choisissez votre marque puis affiner votre recherche avec les filtres.
Vous n'avez pas trouver votre modèle mais vous avez retenue un produit qui vous plaît. Vous voulez savoir si ce produit est compatible sur votre moto ? Alors utiliser le Chat. Notre équipe fera tout son nécessaire pour répondre à votre besoin.
REMMOTORCYLE.COM :
C'est aussi une large gamme de produits sur-mesure Selles, selles avec coque en aluminium, garde boues, plaques latérales, réservoirs, fourches, boucles, etc.


A PROPOS DE NOUS :
REMMOTORCYCLE La passion de la personnalisation...
Passionnés de moto depuis notre plus jeune âge. La customisation moto est venue toute naturellement. Voici notre parcours pour vous faire découvrir qui se cache derrière l'équipe REMMOTORCYCLE.
Tout a commencé il y a plusieurs années lorsque Rémi CEO fondateur achète sa première moto. Immédiatement les premières sensations furent la liberté et l'adrénaline qu'il ressentait lorsqu'il roulait sur sa première machine. Très vite une envie de changer de modèle pour plus de puissance, une nouvelle esthétique, etc. Mais trouver un modèle précis que l'on à en tête s'avère souvent une tâche très difficile. Avec son âme de créateur, impossible de ne pas rêver d'une moto totalement à son image. C'est là qu'un réel défi s'imposait devant lui pour trouver les pièces qu'il imaginait.
Cette opportunité à fait naître REMMOTORCYCLE pour vous aider à trouver facilement les pièces de moto custom que vous recherchez.
Nos profils ?
La recette est simple et nous allons vous la donner ! Le choix d'une équipe de PASSIONNES à votre service ! Nous travaillons continuellement pour dénicher les meilleures pièces disponibles sur le marché et pour les proposer au meilleur prix. Nous avons également développé des relations solides avec les fabricants pour obtenir les meilleurs tarifs et les meilleures garanties pour nos clients.
Mais pas que !
Aujourd'hui, nous sommes fiers de dire que nous développons nos propres pièces de customisations REMMOTORCYCLE afin de vous aider à personnaliser votre machine avec des pièces uniques.
Comment ?
Tout simplement à votre écoute. Car nous aimons partager notre passion avec nos clients et échanger les meilleurs conseils pour améliorer l'expérience motard. Nous sommes également fiers de partager cette aventure aux motards internationaux puisque nous distribuons aujourd'hui partout dans le monde.
Notre ligne de conduite
Nous avons tous eu au moins une fois une expérience face au service client. Pour cela notre priorité, un service professionnel de qualité et de proximité. Nous vous garantissons une connaissance approfondie de toutes les pièces que nous vendons.
Réactivité, puisque rouler sa moto c'est mieux ! Toujours à votre écoute grâce à tous nos moyens de communication, Email, Chat, Messenger (Facebook), Youtube et Instagram. Impossible de nous rater. Nous mettons tout en œuvre pour vous répondre dans les plus bref délais.
En conclusion
Notre parcours dans cet univers de la personnalisation moto est un voyage rempli d'aventures, de défis et de satisfaction personnelle. Nous sommes heureux de faire partie de cette communauté passionnée et de continuer à partager notre amour pour la moto custom avec le monde entier.