RECHERCHE PAR INSPIRATIONS


- Shock absorbers
- Thermal bands
- Aluminum boxes
- Rear curls
- Bubbles
- Turn signals
- Commodos
- Meters
- Rear shells
- Exhaust
- Rear lights
- Air filters
- Forks
- Wardrobe
- Handlebars
- Brake and clutch levers
- Side plates
- Handles
- Headlights
- Footrest
- Tanks
- Mirrors
- Stool
- Silent
- Fork bellows
- Insurance supports
- License plate supports
- Shock absorbers
- Thermal bands
- Aluminum boxes
- Rear loops
- Bubbles
- Turn signals
- Commodos
- Meters
- Rear shells
- Swine
- Rear lights
- Air filters
- Forks
- Wardrobe
- Handlebars
- Brake and clutch levers
- Side plates
- Handles
- Headlights
- Footrest
- Tanks
- Mirrors
- Stool
- Silent
- Fork bellows
- Insurance supports
- License plate supports
RECHERCHE PAR MARQUES DE MOTO


The guide to build a low -budget racer motorcycle coffee

Construction guide for a cafe+racer with tight budget.
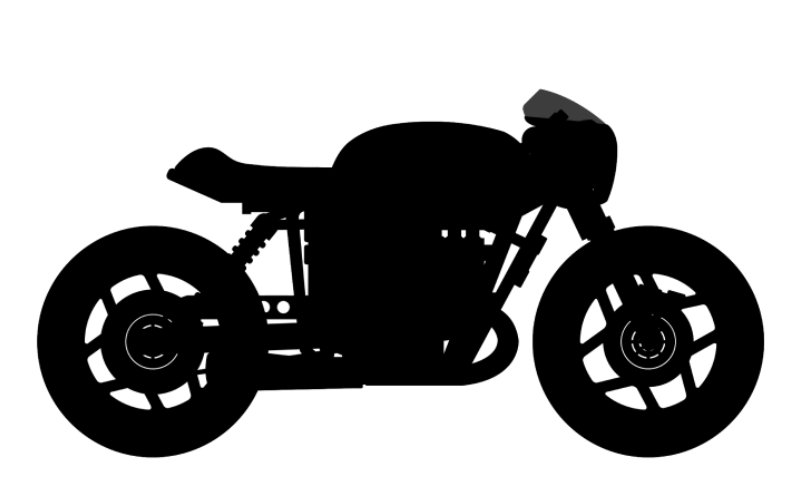
THE cafe+racer is a personalized type of motorcycle. The Cafe+Racer movement was born in the 1960s when English carried out coffee coffee races.
To avoid surprises, we advise you to start by best defining your project in order to have a global vision. Using the following different steps, you can refine your project.
Step 1: Define your budget

There are two elements to take into account before having a figure in mind:
- We often underestimate the cost and the work to be carried out
- We necessarily go Forget an element in the calculation.
Once this awareness, we can count on a budget with a safety margin. The budget will balance between the price of the basic motorcycle and the work / parts to be made on it.
Step 2: Choose the motorcycle
This is a crucial step in the realization of your preparation.
To stay within a small budget, we will start from a base requiring few modifications to be transformed into cafe+racer.
The base must have a something, A style to be brought to the preparation.
It is relevant to choose a Motorcycle of the late 80s and 90 years. It is possible to have a rolling base in a very correct condition of € 1,000 to 2000 €.
According to step 1, it is better to spend a little more from the start to avoid high costs later.
For our choices, we opted for Japanese motorcycles after 1980. They offer pleasure, reliability and are ideal for creating superb cafe+racer.
Here is a selection of motorcycles to make you happy:
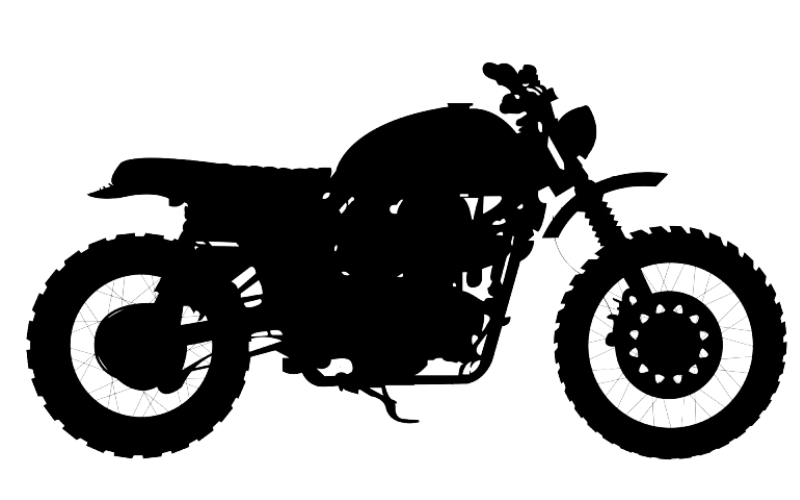
CX650 & GL650: A motorcycle much appreciated in preparation. We like its legendary engine. We like the rear loop and the climbing coast less.

(Source: cyclechaos.com)
In the Honda, you can also choose a Honda CB.
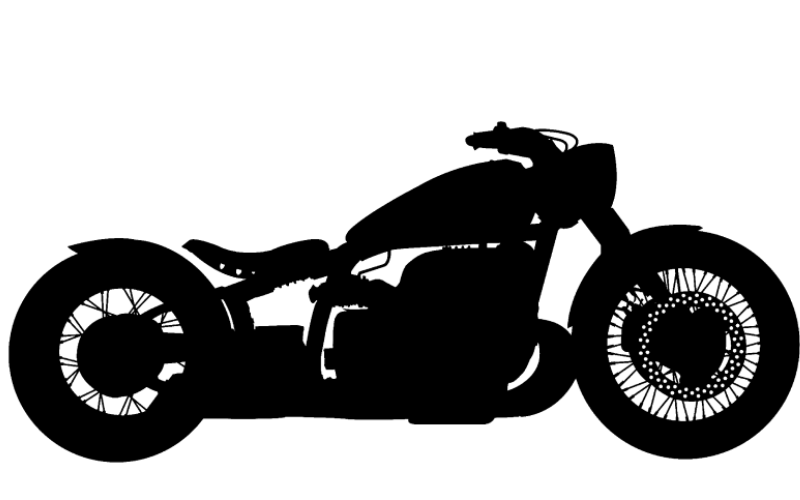
XJ650 & XJ900: A reliable and robust motorcycle. Easy to find. We like the possibilities it offers. We like the original tank less.

(Source: zombdrive.com)
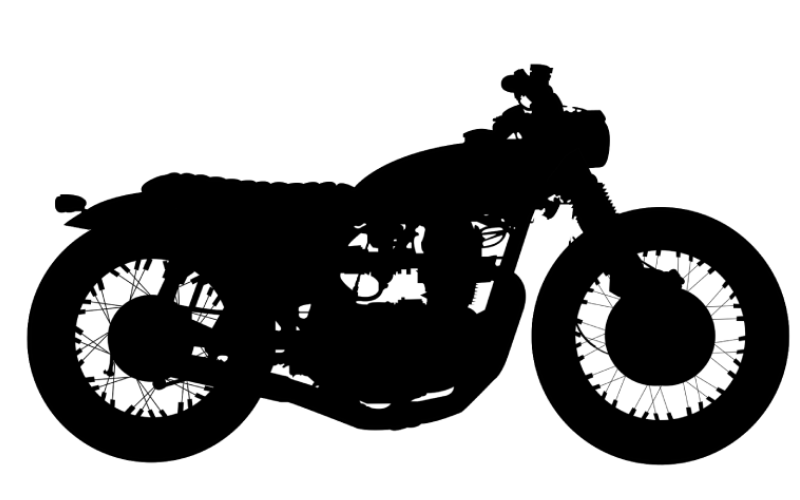
Kawasaki Z 650 & Z 750: The universal Japanese motorcycle. We love its original tank and its rims. Rare at less than 2000 € in an acceptable state.

(Source: zombdrive.com)
You also have to look at the unfinished or "missed" preparations which can give rise to good deals:

(Source: leboncoin.fr)
The list is not exhaustive and only corresponds to our aspirations.
You must also choose a motorcycle corresponding to your license (A2 permit for example).
Step 3: Find spare parts
Many articles to create a cafe+racer are available on Remmotorcycle.com.
For large parts, you can also look at the coins of original parts.
Step 4: Adapt the parts
Once the pieces are in your possession, you will have to adapt them.
You can try for yourself or call a professional.
Professionals will save you precious time and save you errors.
Step 5: Add your personal button
At this point, you may think about adding your personal touch. Whether by color, a unique piece or the deletion of an element.
This cafe+racer must be a reflection of your personality while keeping a clean and vintage style.
Step 6: Finish the project
Once all these steps have been made, it will be necessary to adjust the carburation according to the added parts, test the motorcycle, make some adjustments and finally, have it approved to be able to ride.
Conclusion :
As with any vehicle preparation, you will need tools, patience and time.
It is important to choose your base and adapt your desires to your budget.
With the right elements and a little creativity, you will be able to create your unique motorcycle.
We advise you to use our sizes guide to choose your parts and use our customer service for any questions.
You can find cafe+racer parts On our Remmotorcycle site.
2 Responses

Leave a comment
Comments will be approved before showing up.
Leseine
February 16, 2023
Bonjour,
Je possède une 1000tls de 1996, je souhaiterais la transformer en café Racer, qu’elle serait le prix moyen pour pouvoir réaliser mon projet à titre indicatif. En vous remerciant.